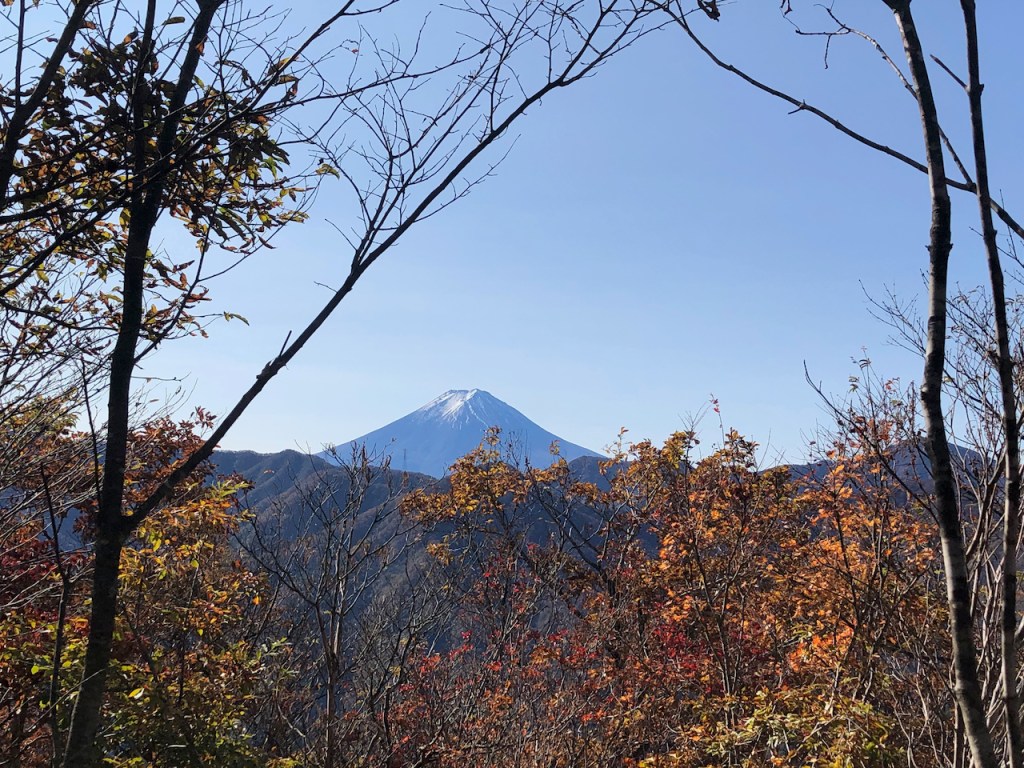
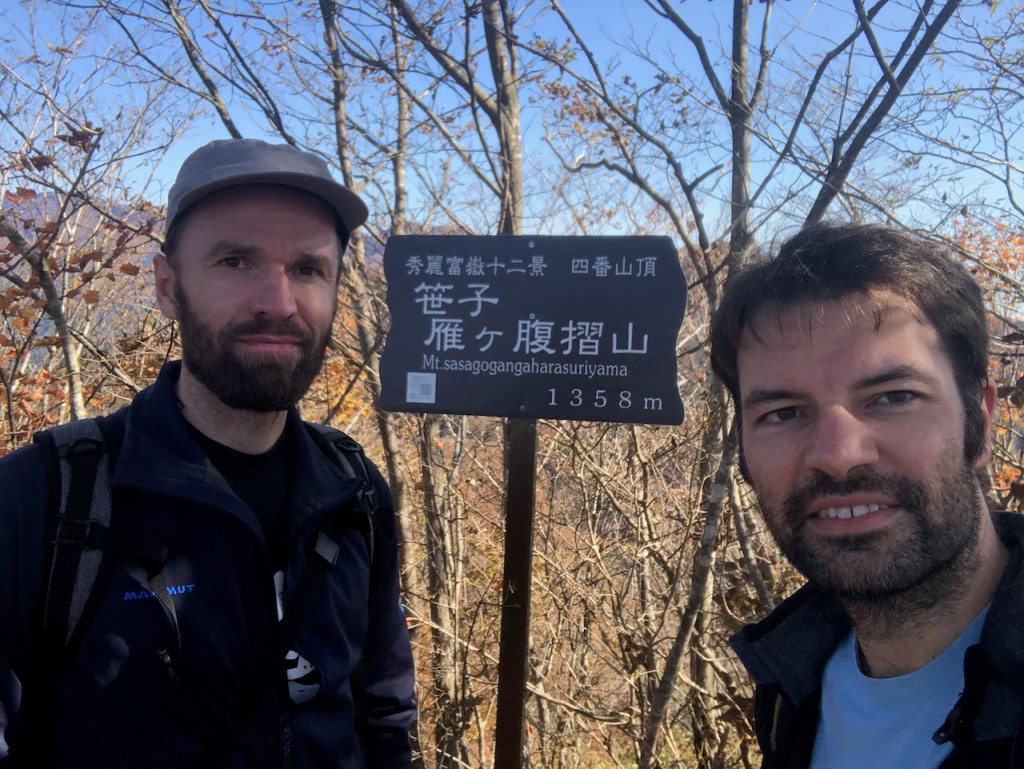
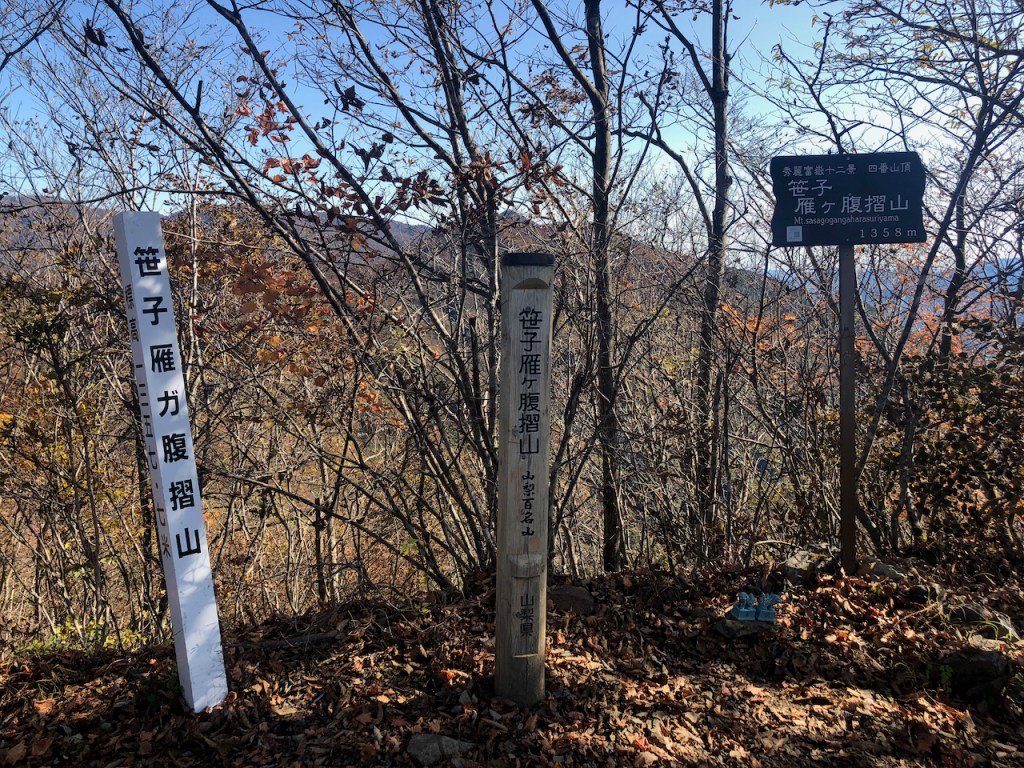
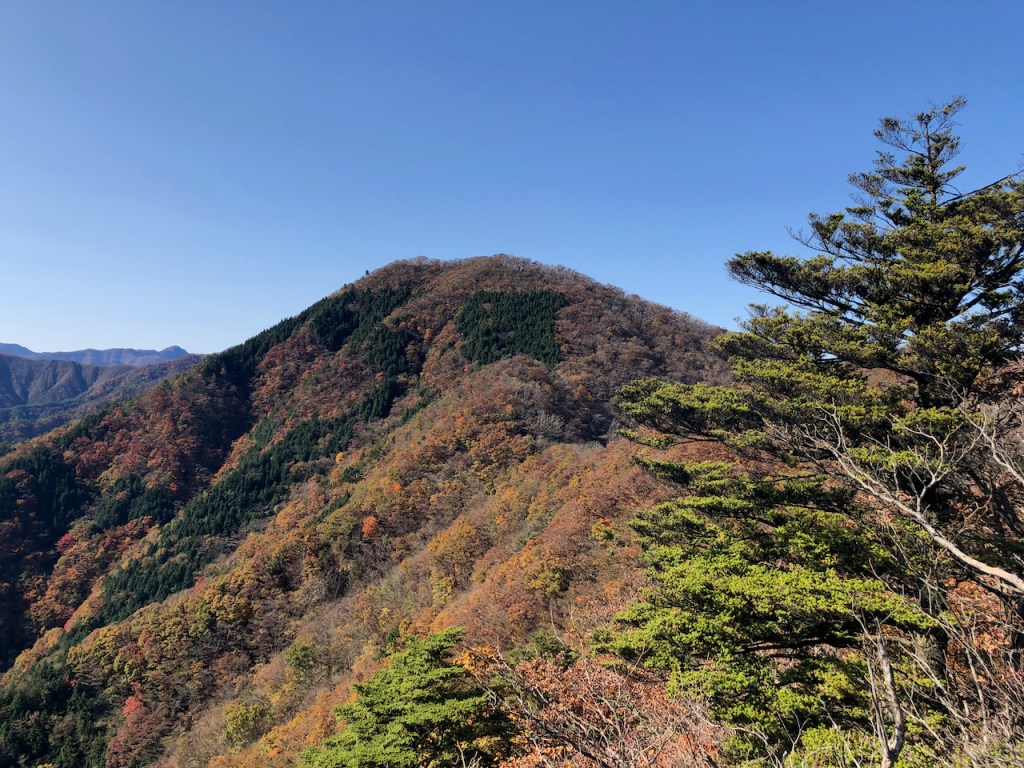
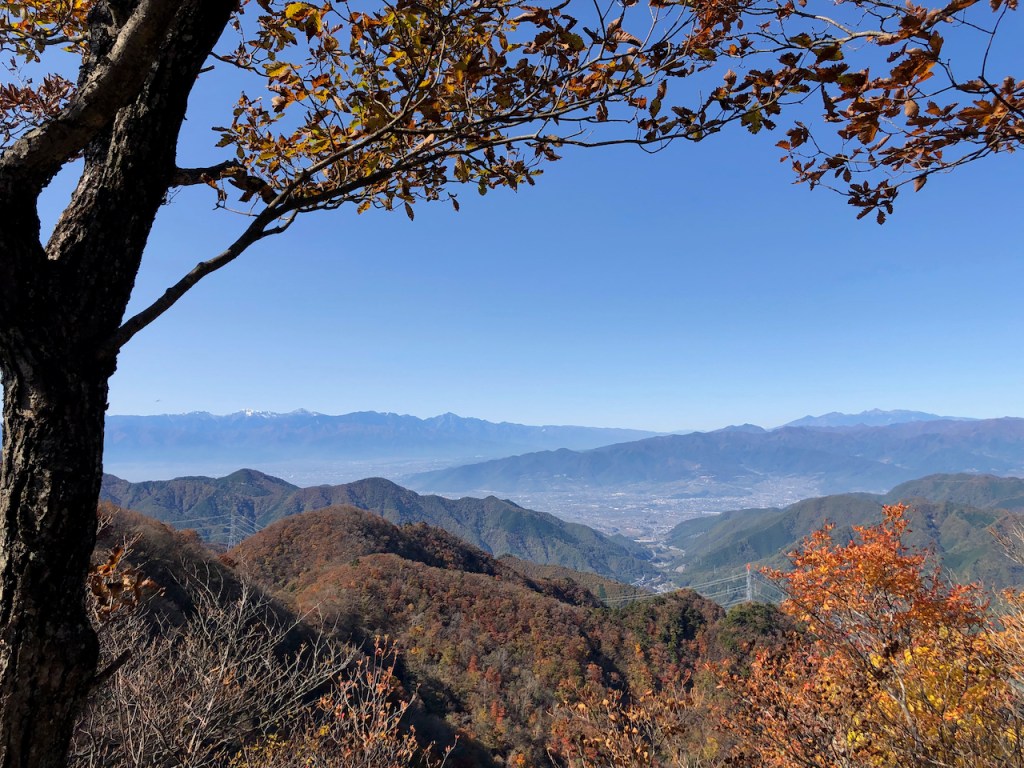
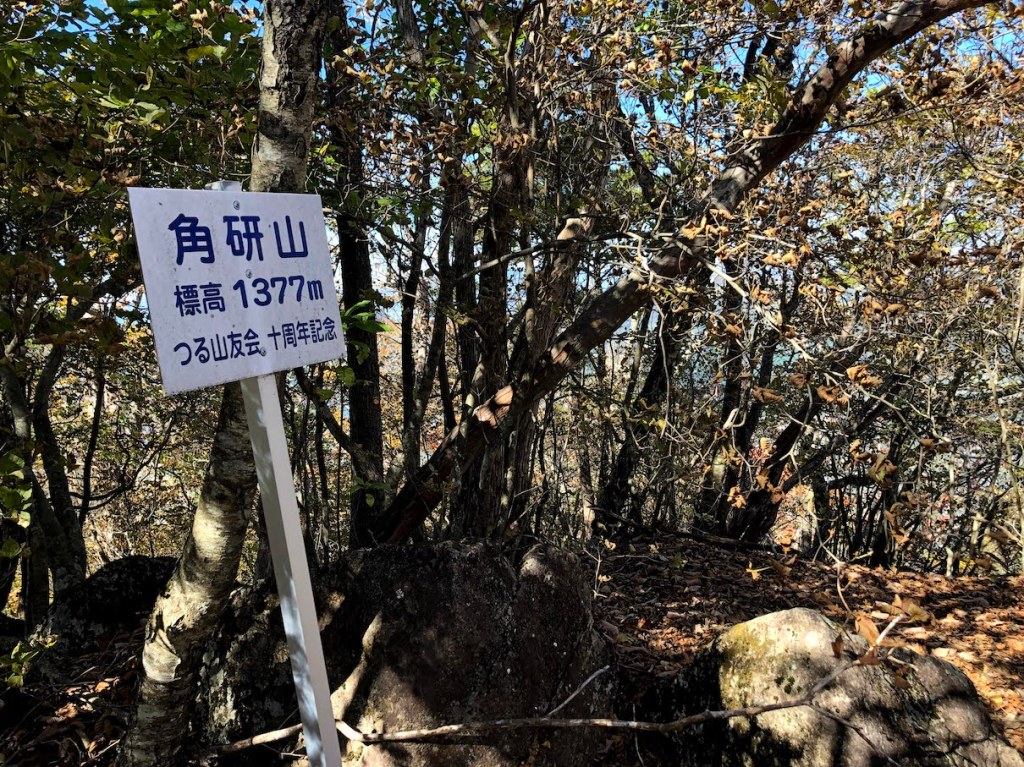
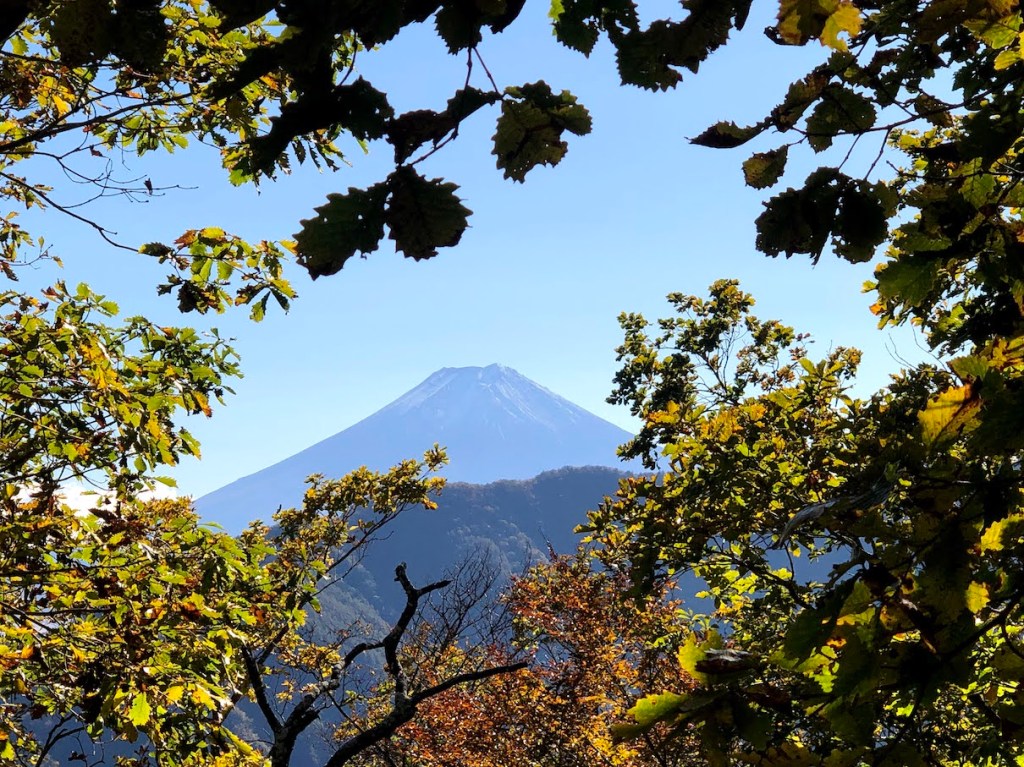
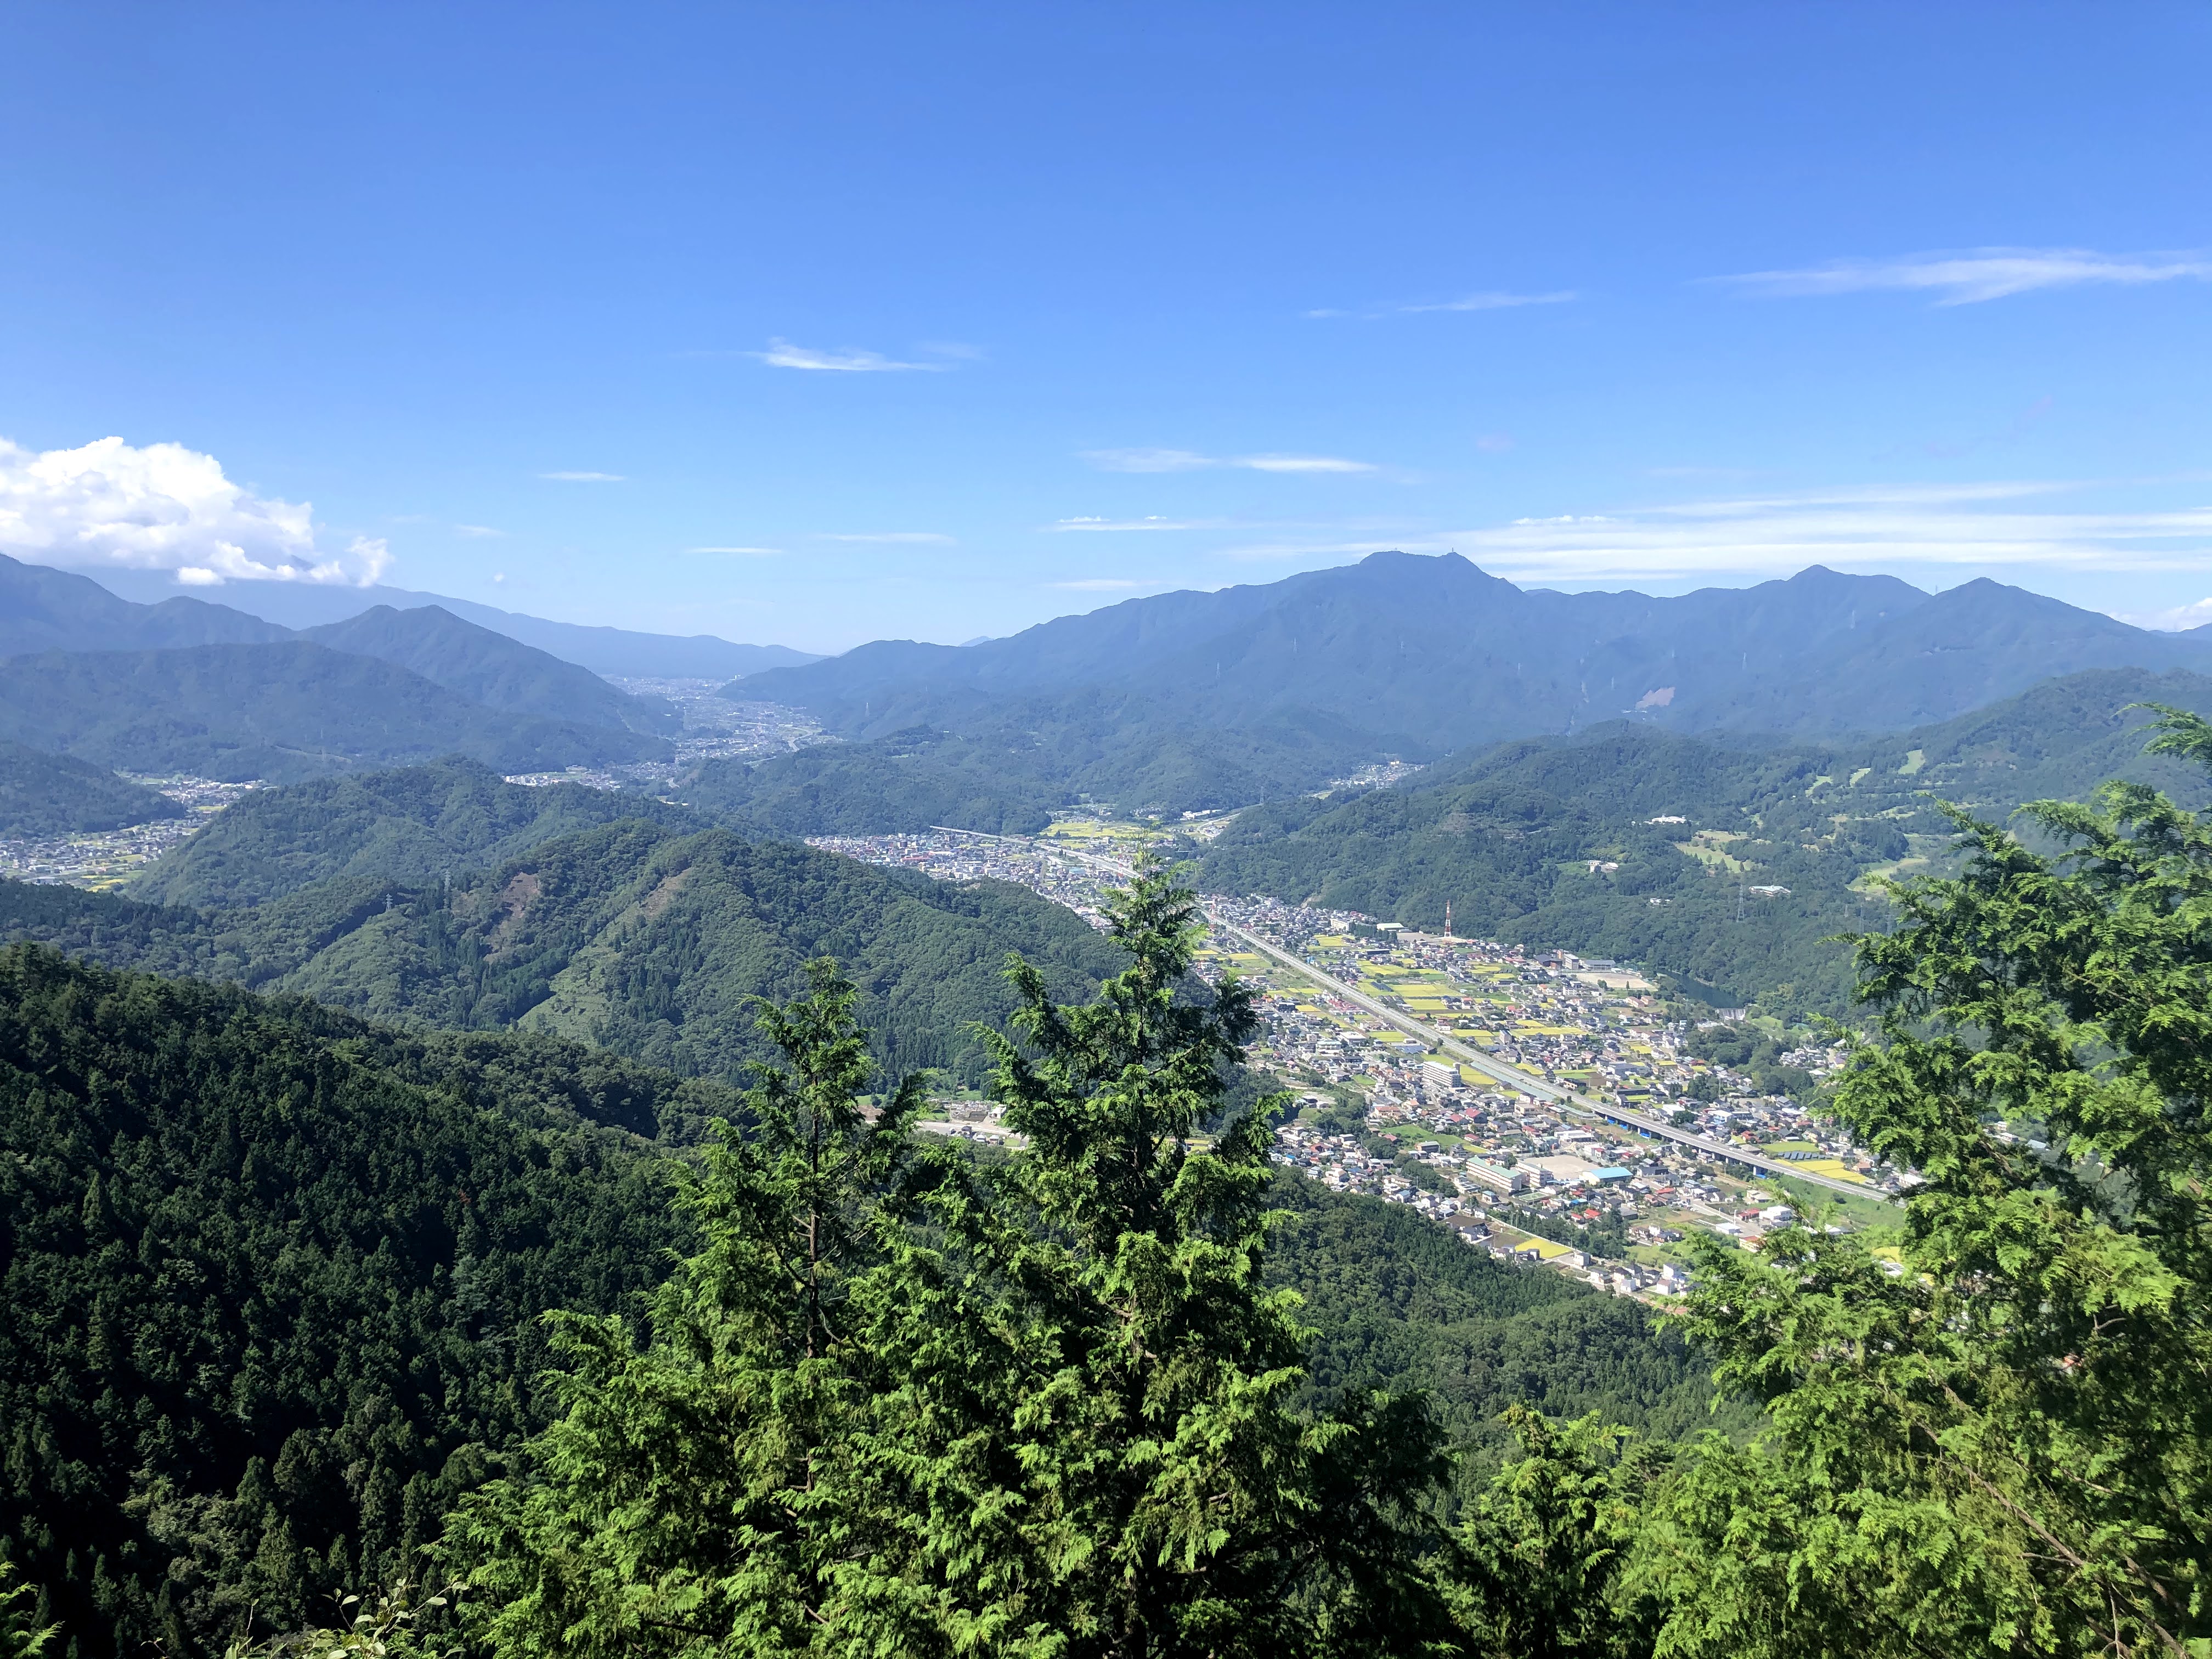
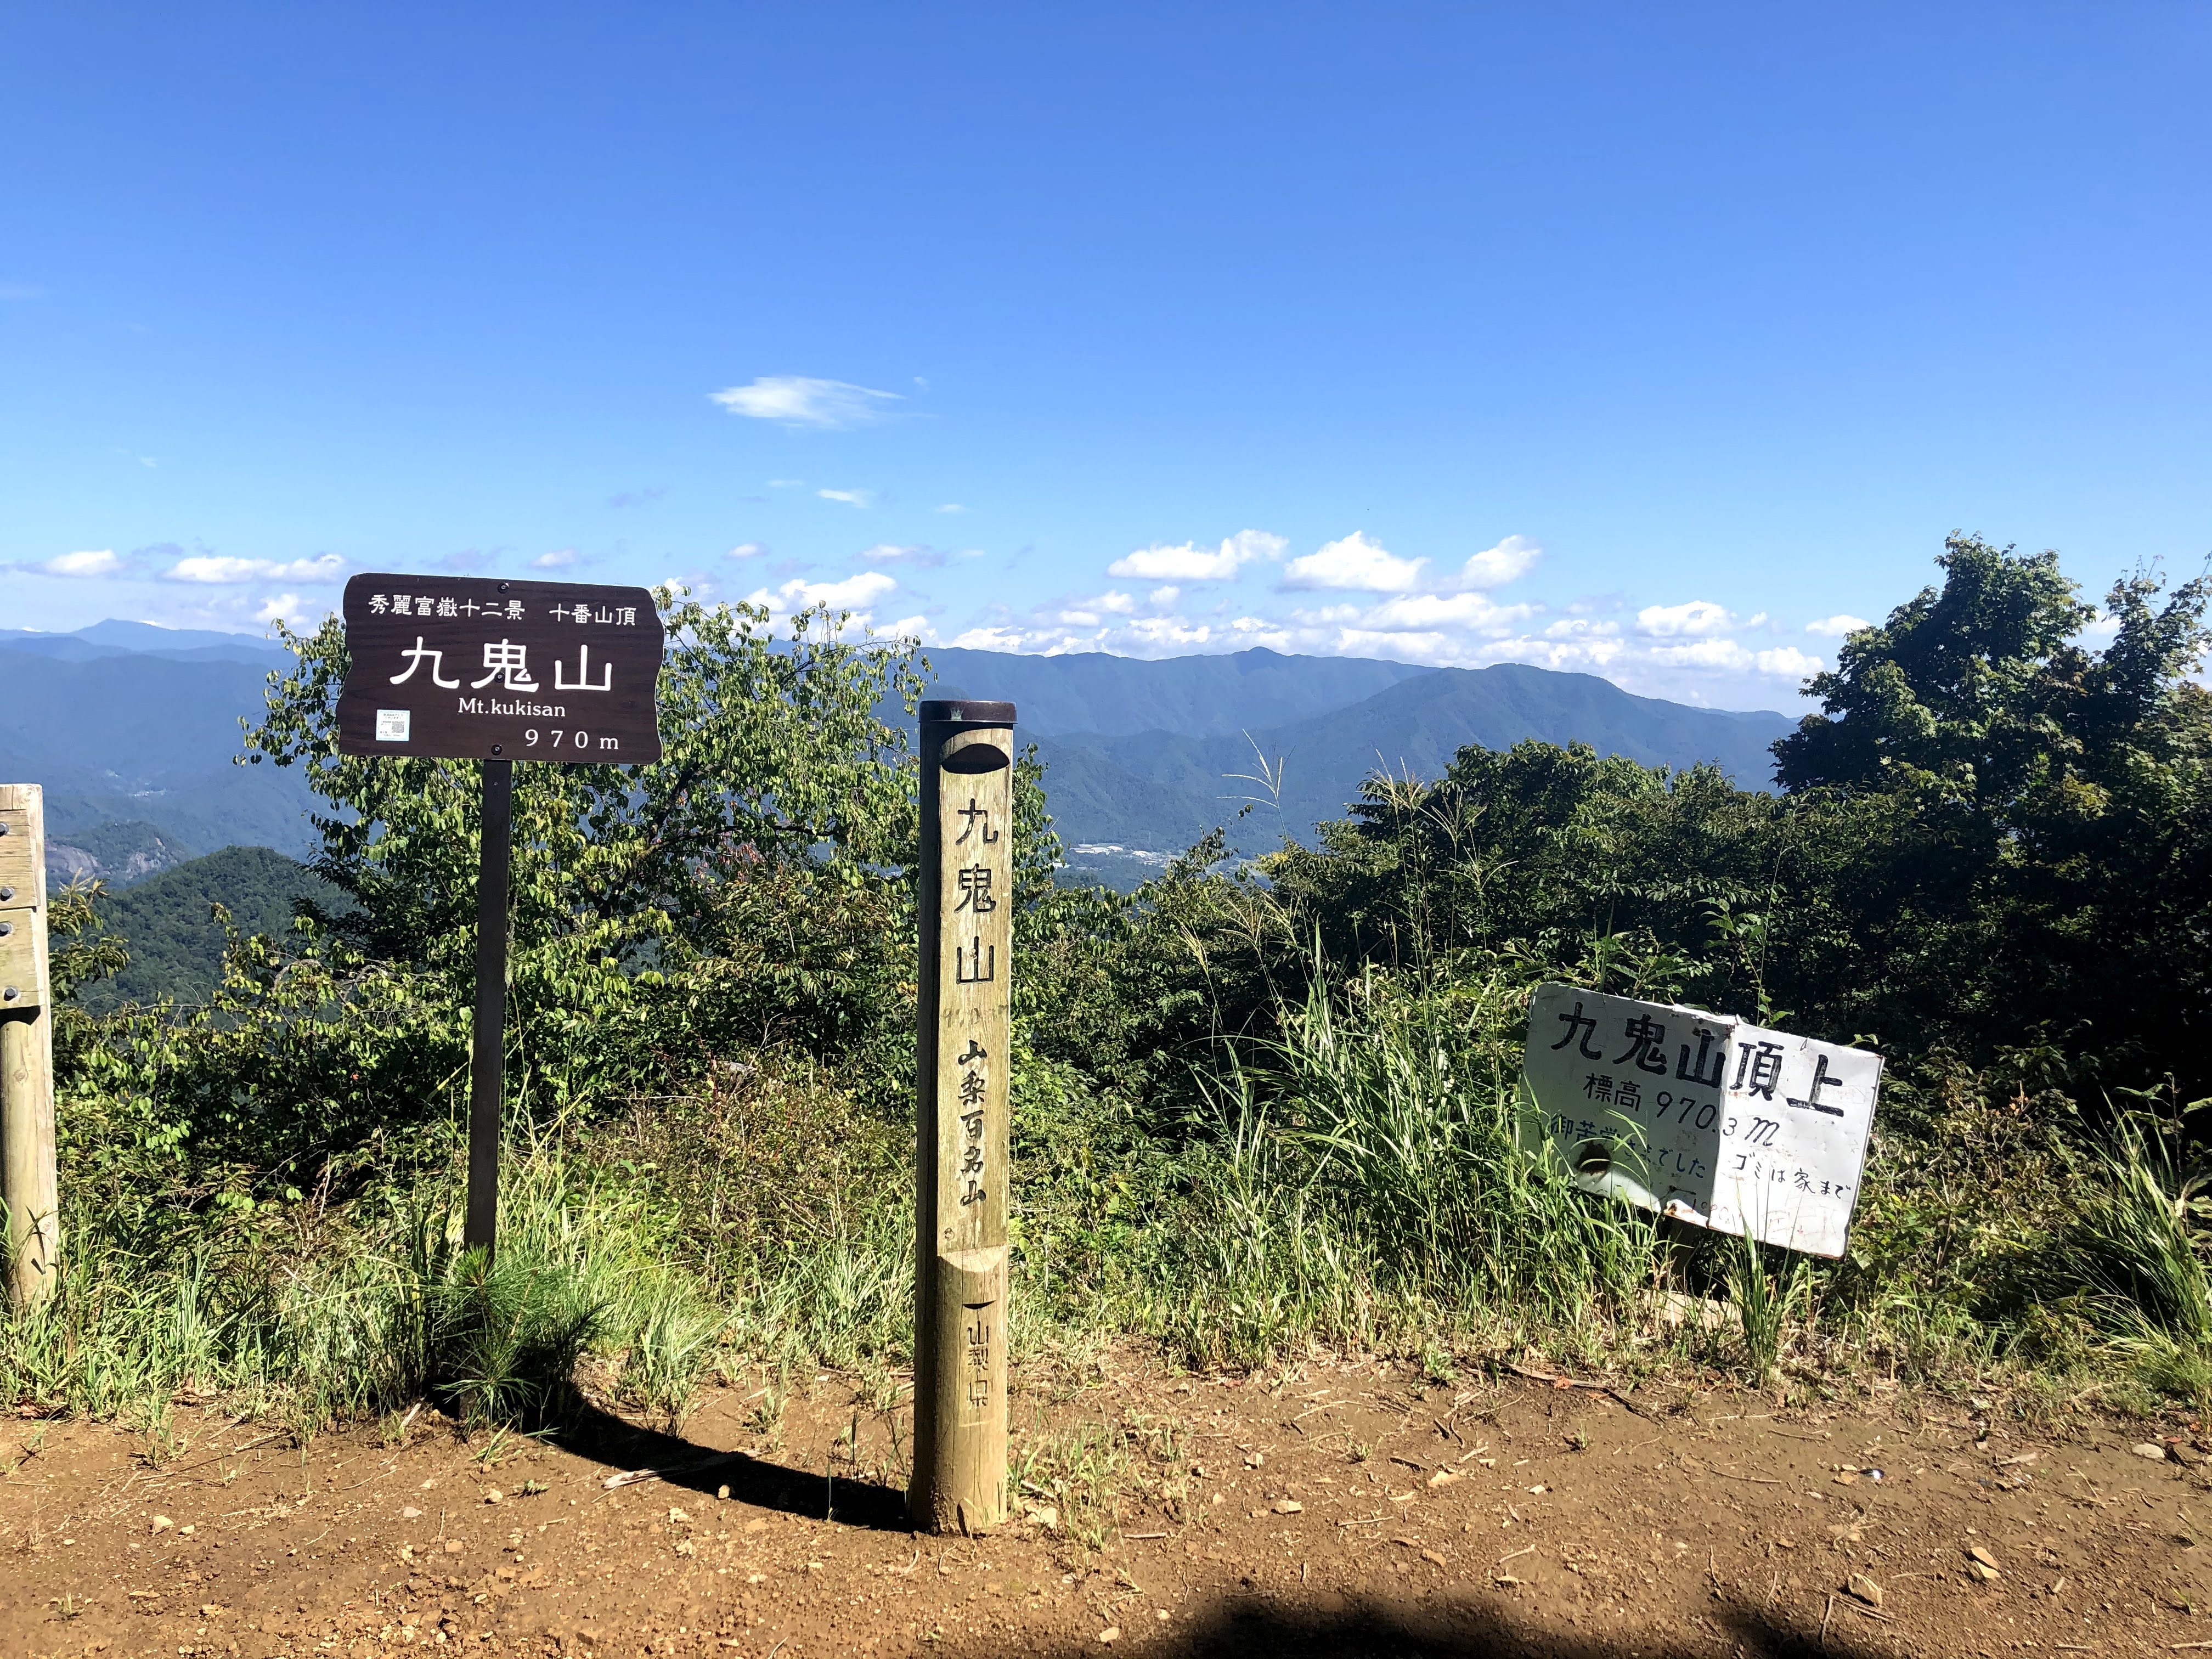
Einer der Berge in Japan mit der wohl laengsten Lesung: Sasagogangaharasuriyama, oder 笹子雁ヶ腹摺山 auf Japanisch. Der Berg gehoert zu den Yamanashi 100 Meizan und ist sehr einfach vom Bahnhof Sasago (笹子駅) auf der Chuo-sen, die in Richtung Matsumoto faehrt zu erreichen. Vom Bahnhof muss man eine Weile die Strasse in Farhtrichtung entlanglaufen bevor man auf den Wanderpfad trifft. Dort angekommen geht es ziemlich geradlienig steil den Berg hoch bis auf ca. 1300m. Der Anstieg ist allerdings nicht sehr schwer. Oben angekommen hat man eine nette Sicht auf den Fuji-san und dann kann man entscheiden entweder direkt wieder runter wie man gekommen ist, alternativ am Gipfel links nach unten, oder – und das wuerde ich empfehlen bei gutem Wetter und ausreichend Zeit, den Bergkamm rechts weiter zu gehen zum Yonezawa-yama (米沢山) und zum Obou-yama (お坊山). Auf dem Weg gibt es eine sehr gute Aussichtsplattform ins Tal wo Sasago liegt inklusive dem Fuji im Hintergrund, und vom Obou-yama kann man wunderbar in die andere Richting blicken und bis zu den Minami-Alps und den Kita-Alps schauen bei gutem Wetter.
Es gibt in der Gegend uebrigens mehrere Berge die den Namen Gangaharasuriyama (雁ヶ腹摺山) im Namen tragen, so wie der Ushiokunogangaharasuriyama (牛奥ノ雁ヶ腹摺山). Der eigentliche Gangaharasuriyama (雁ヶ腹摺山) liegt ein wenig weiter noerdlich und ist unter anderem bekannt weil die Fuji Sicht von dort auf dem frueheren 500-Yen-Schein abgebildet war, der aber mittlerweile nicht mehr im Umlauf ist.
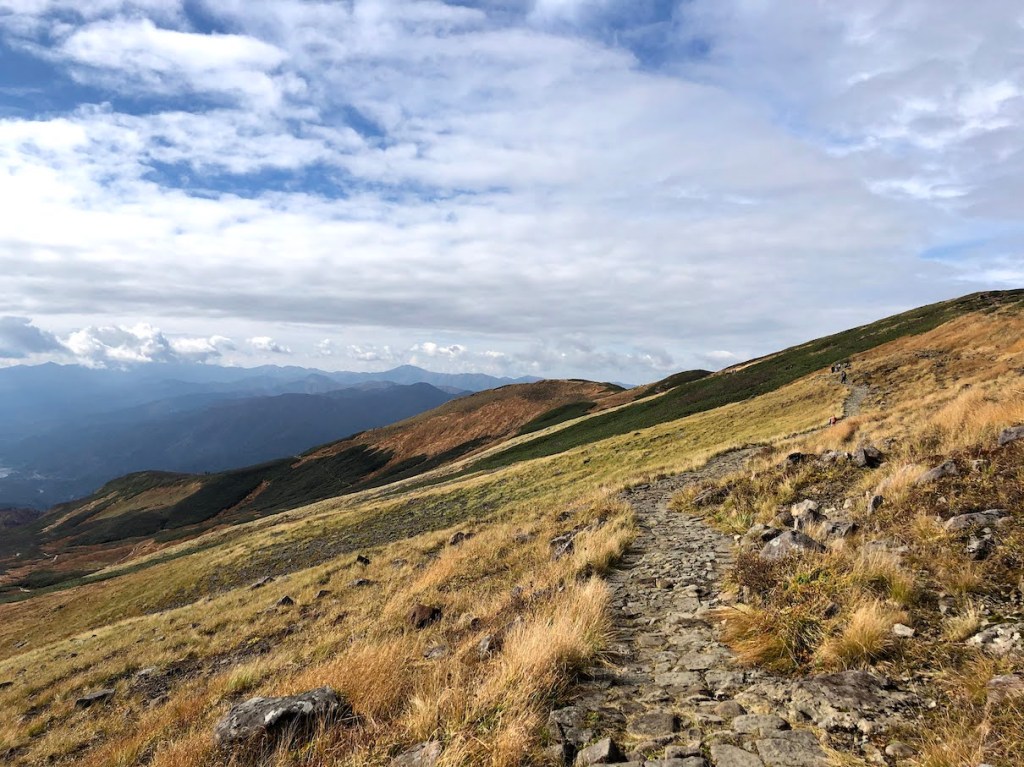
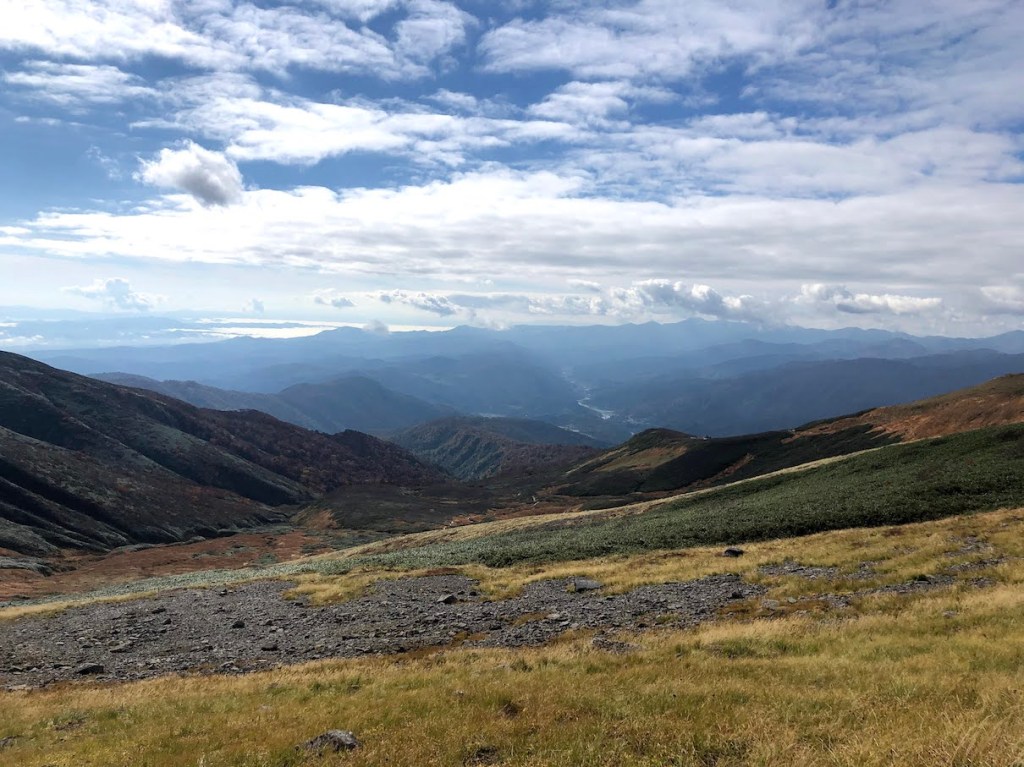
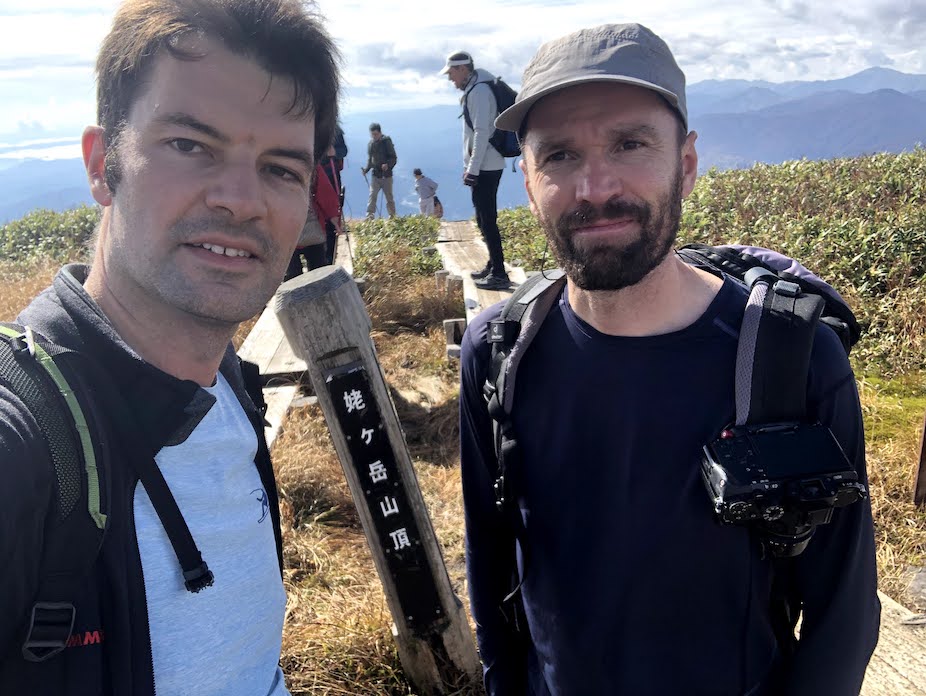
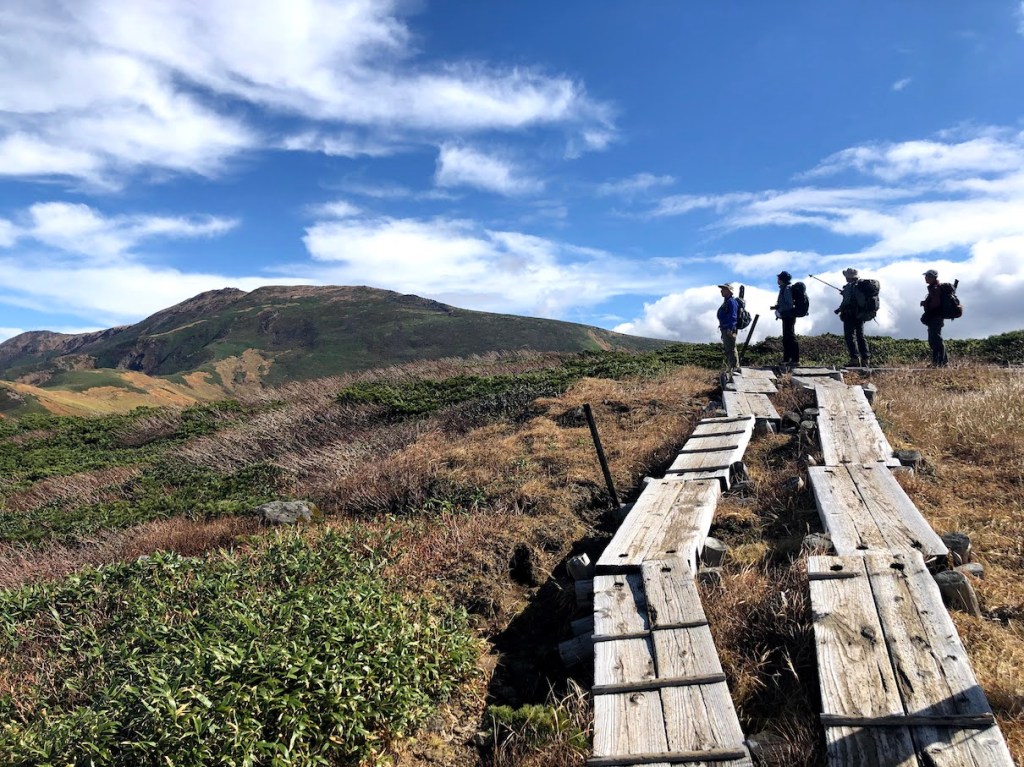
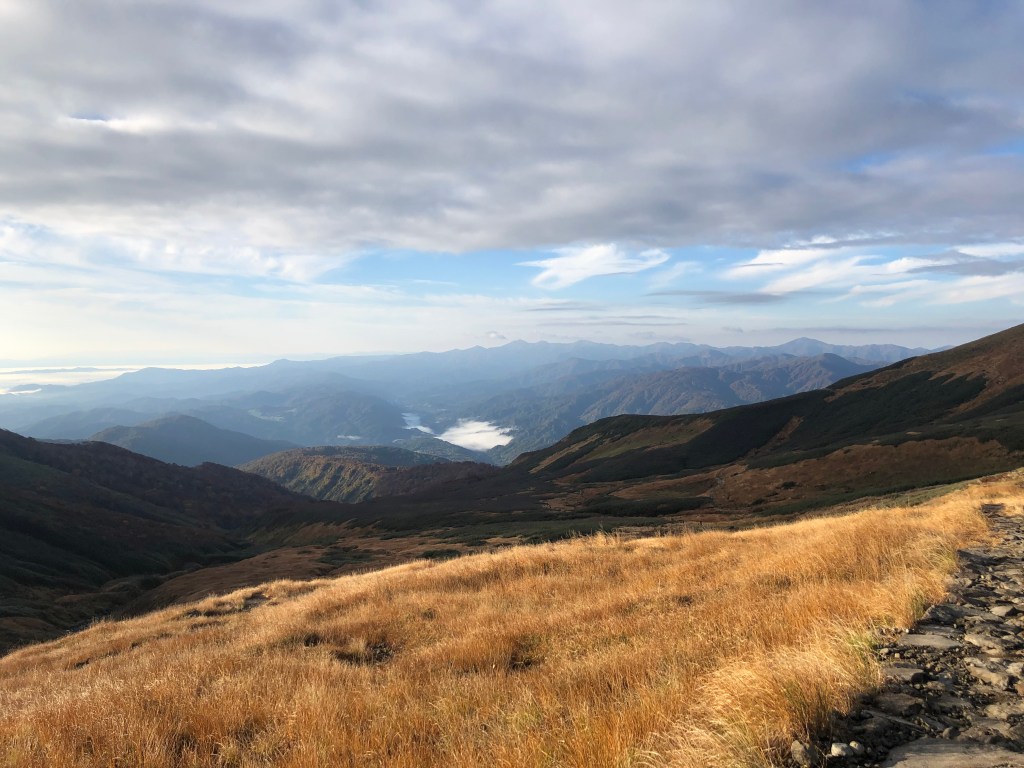
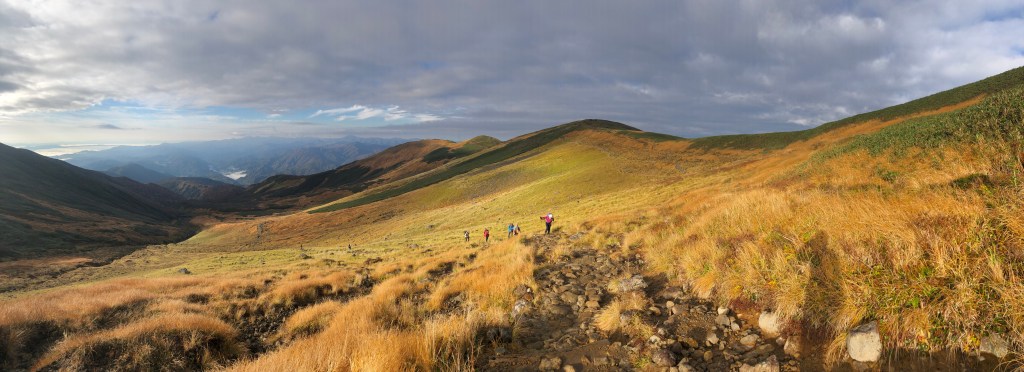
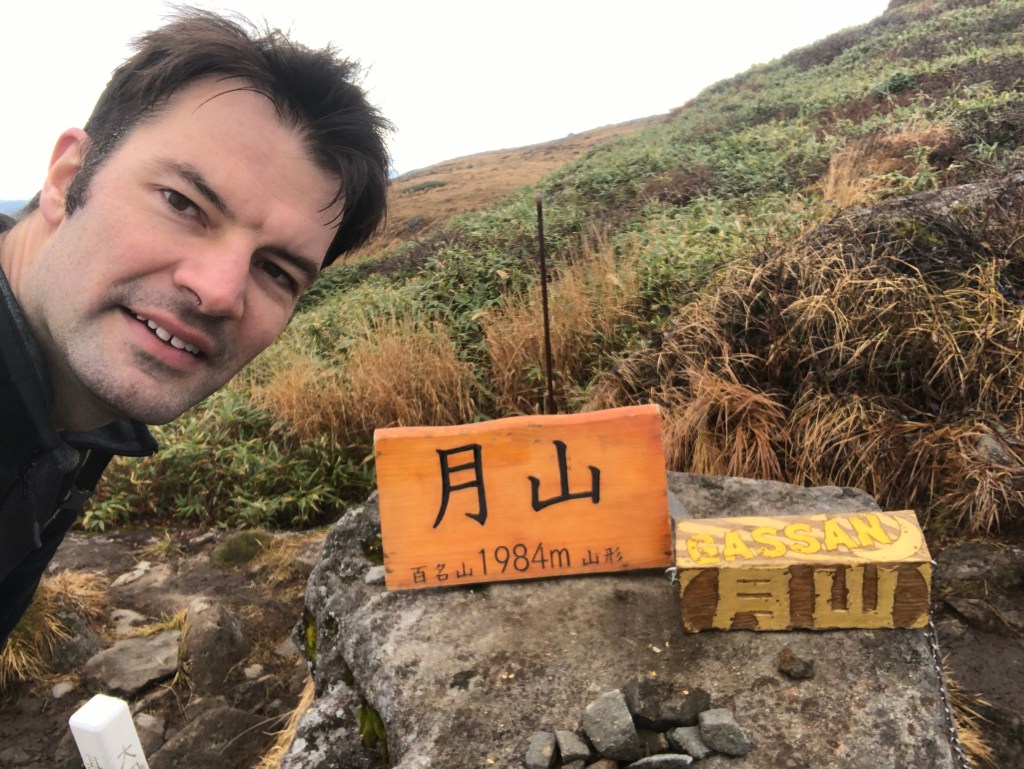
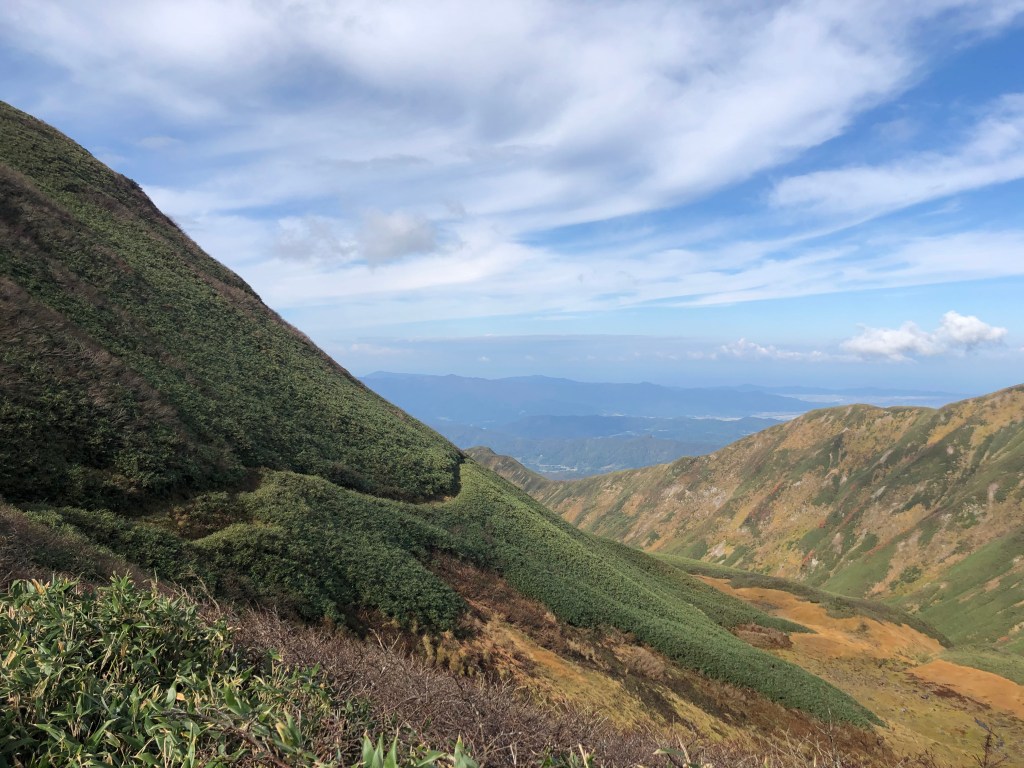
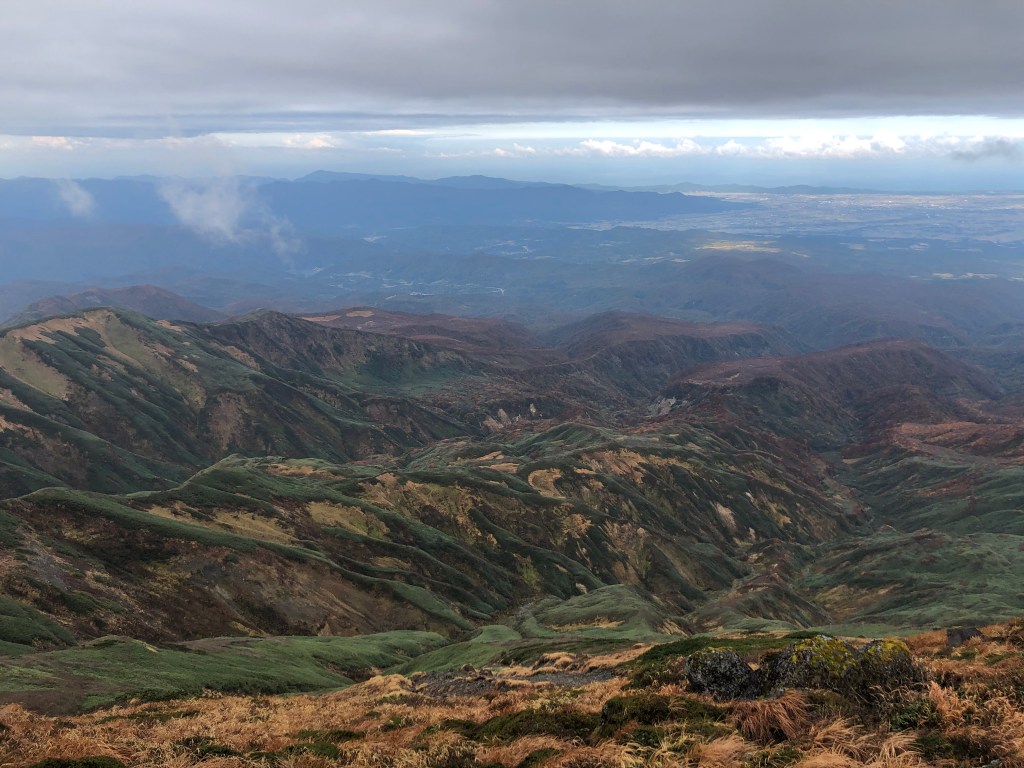
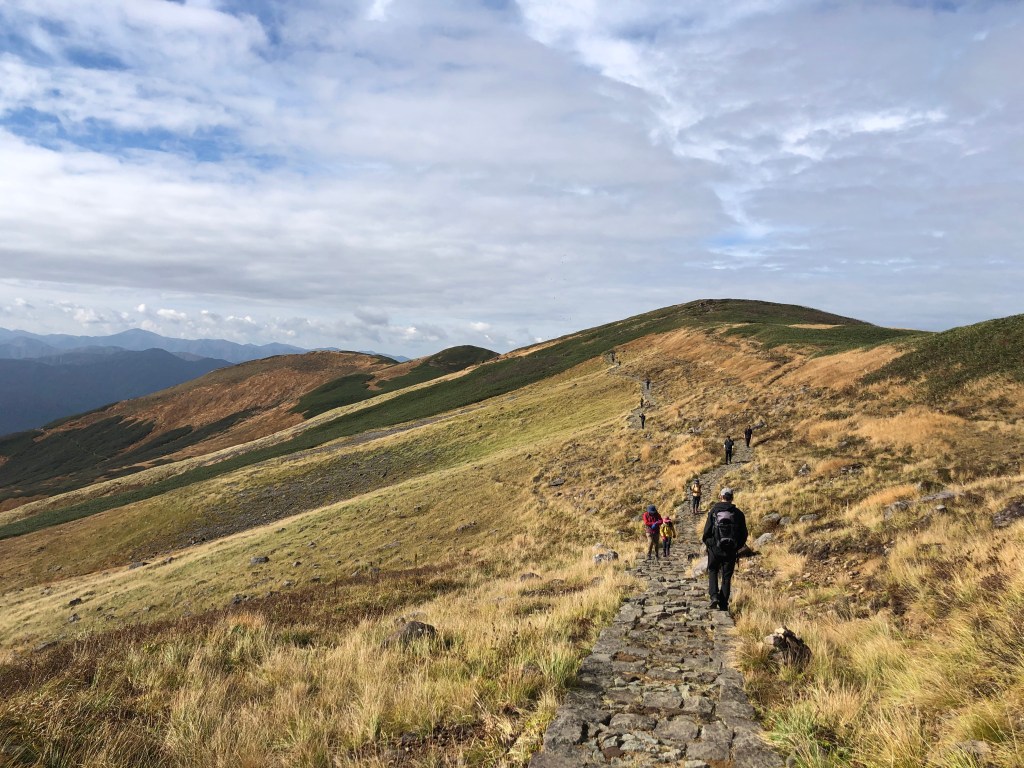
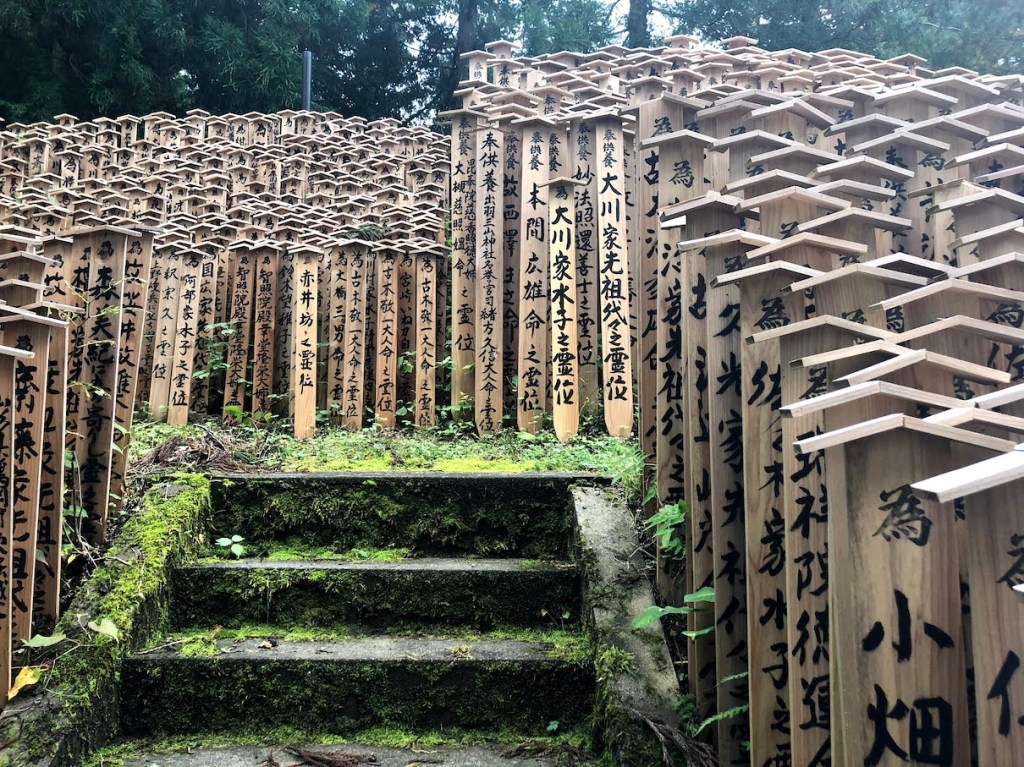
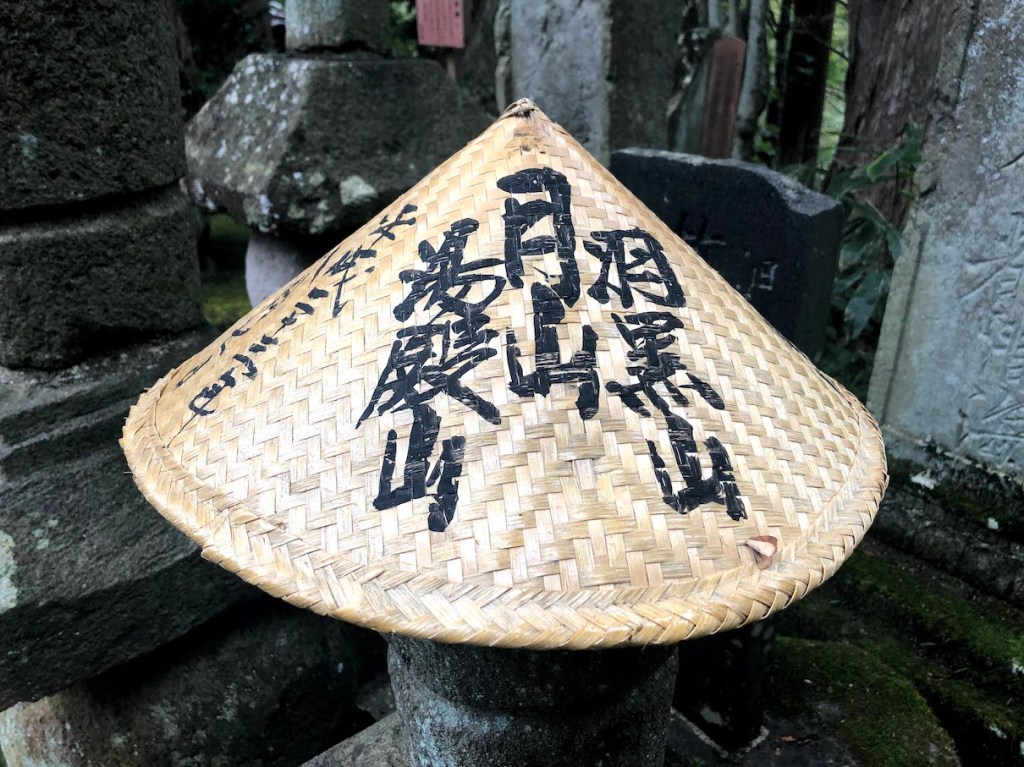
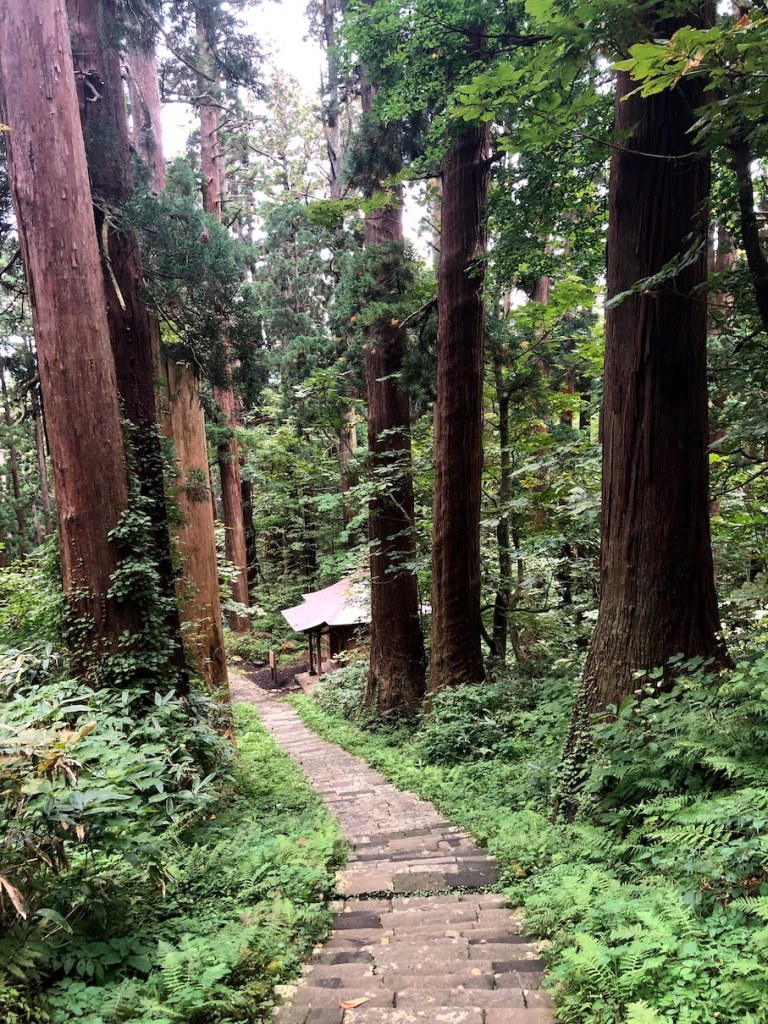
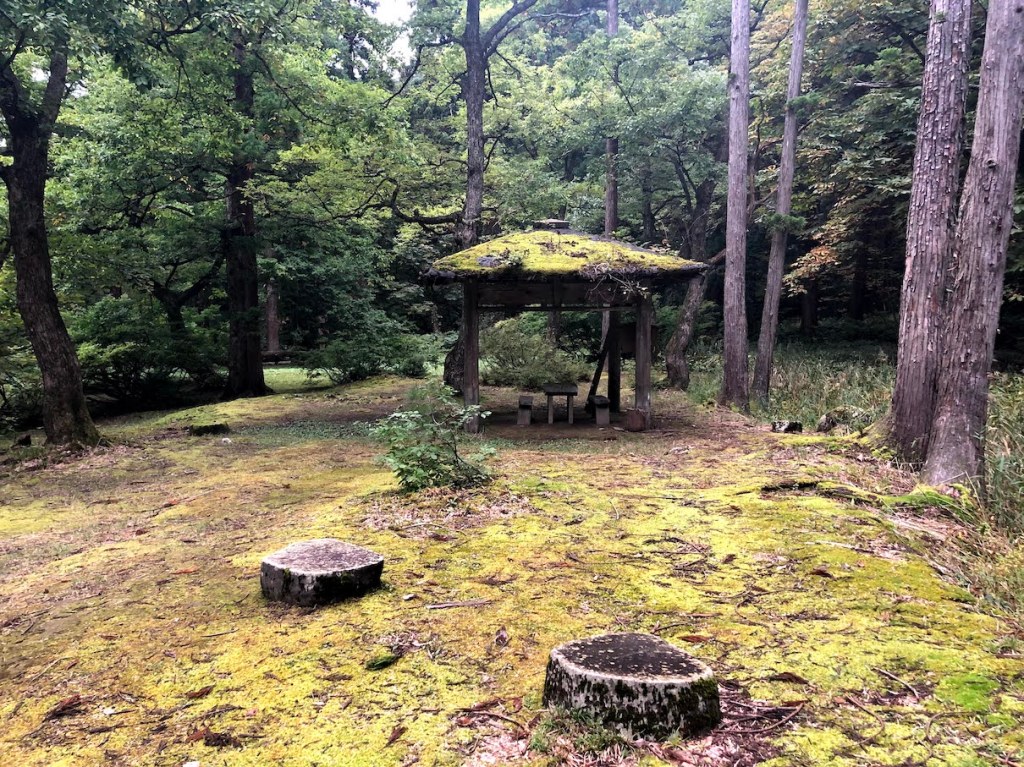
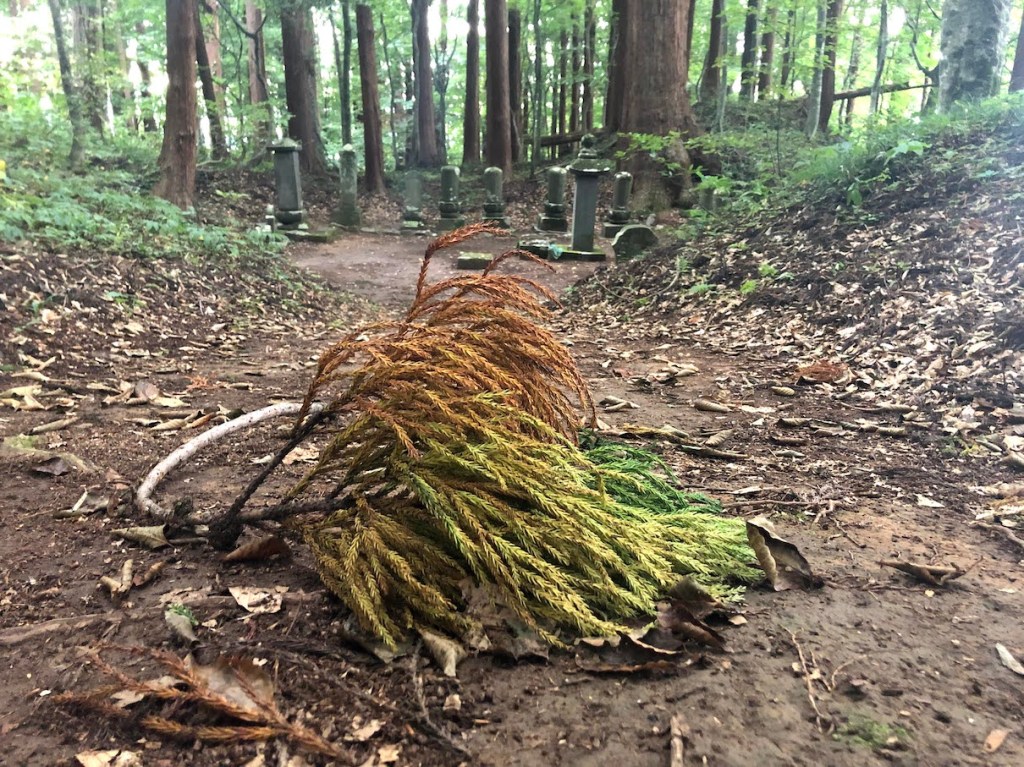
Netter Oktober Hike auf den Gassan. Der Berg ist ein beliebter Pilgerort in Japan, daher wuerde ich empfehlen ihn zu bestaeigen nachdem der Schrein oben auf dem Gipfel nicht mehr offen hat. Ich bin im Oktober 2020 hoch, als die Blaetter schon angefangen haben ihre Farbe zu wechseln. Selbst in dieser Zeit (der Schrein war schon geschlossen) und der beginnenden Kuehle oben auf dem Gipfel, waren noch sehr viele Leute unterwegs. Die meisten nehmen die Route ueber den Skilift, welcher erst um 8 Uhr morgens oeffne. Wenn moeglich wuerde ich daher empfehlen schon gegen spaetestens 6am morgens zu starten, um die Massen zu vermeiden. Die Gipfelmarkierung ist uebrigens nicht im Tempel, sondern kurz dahinter auf einer kleinen Anhoehe.
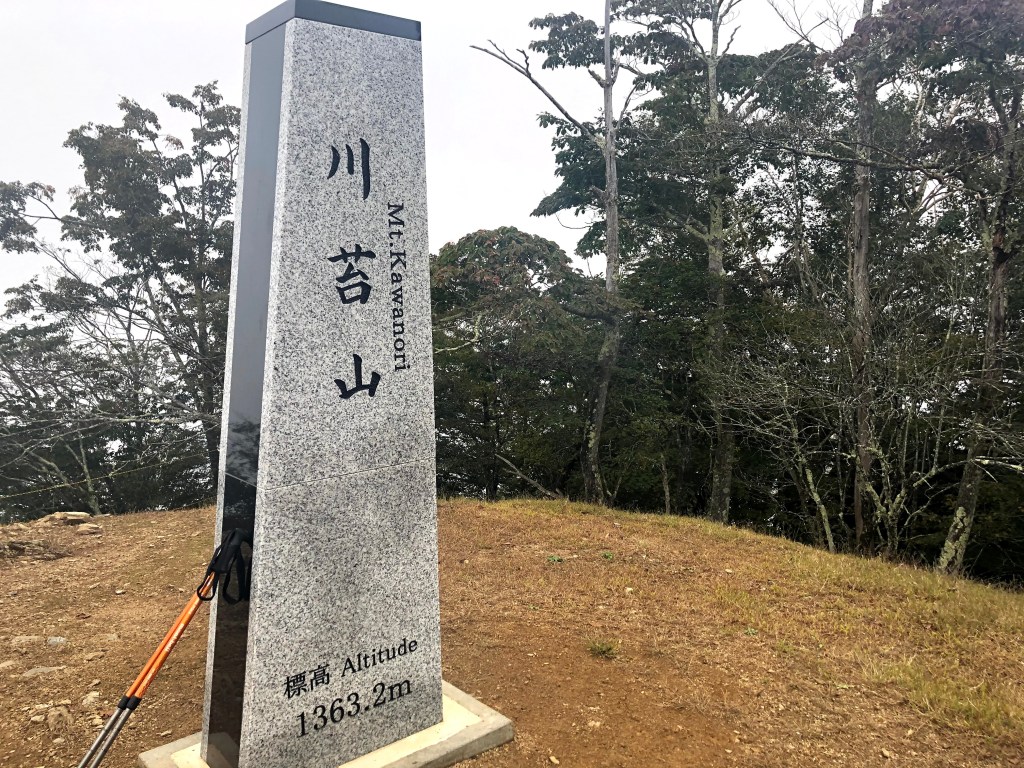
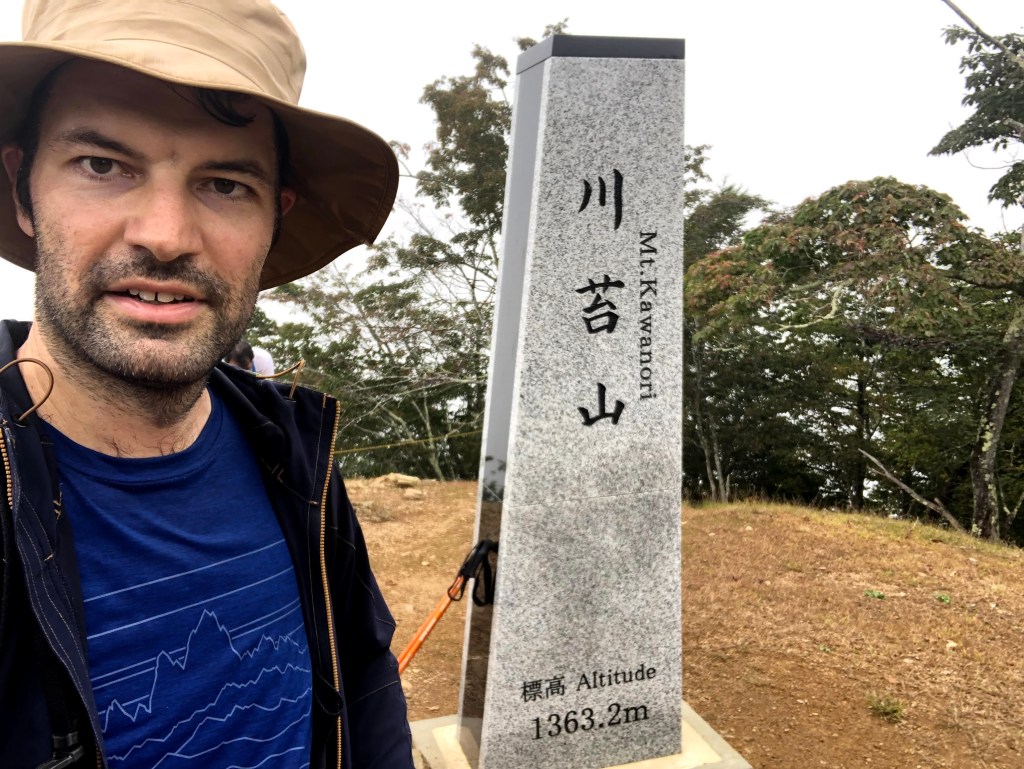
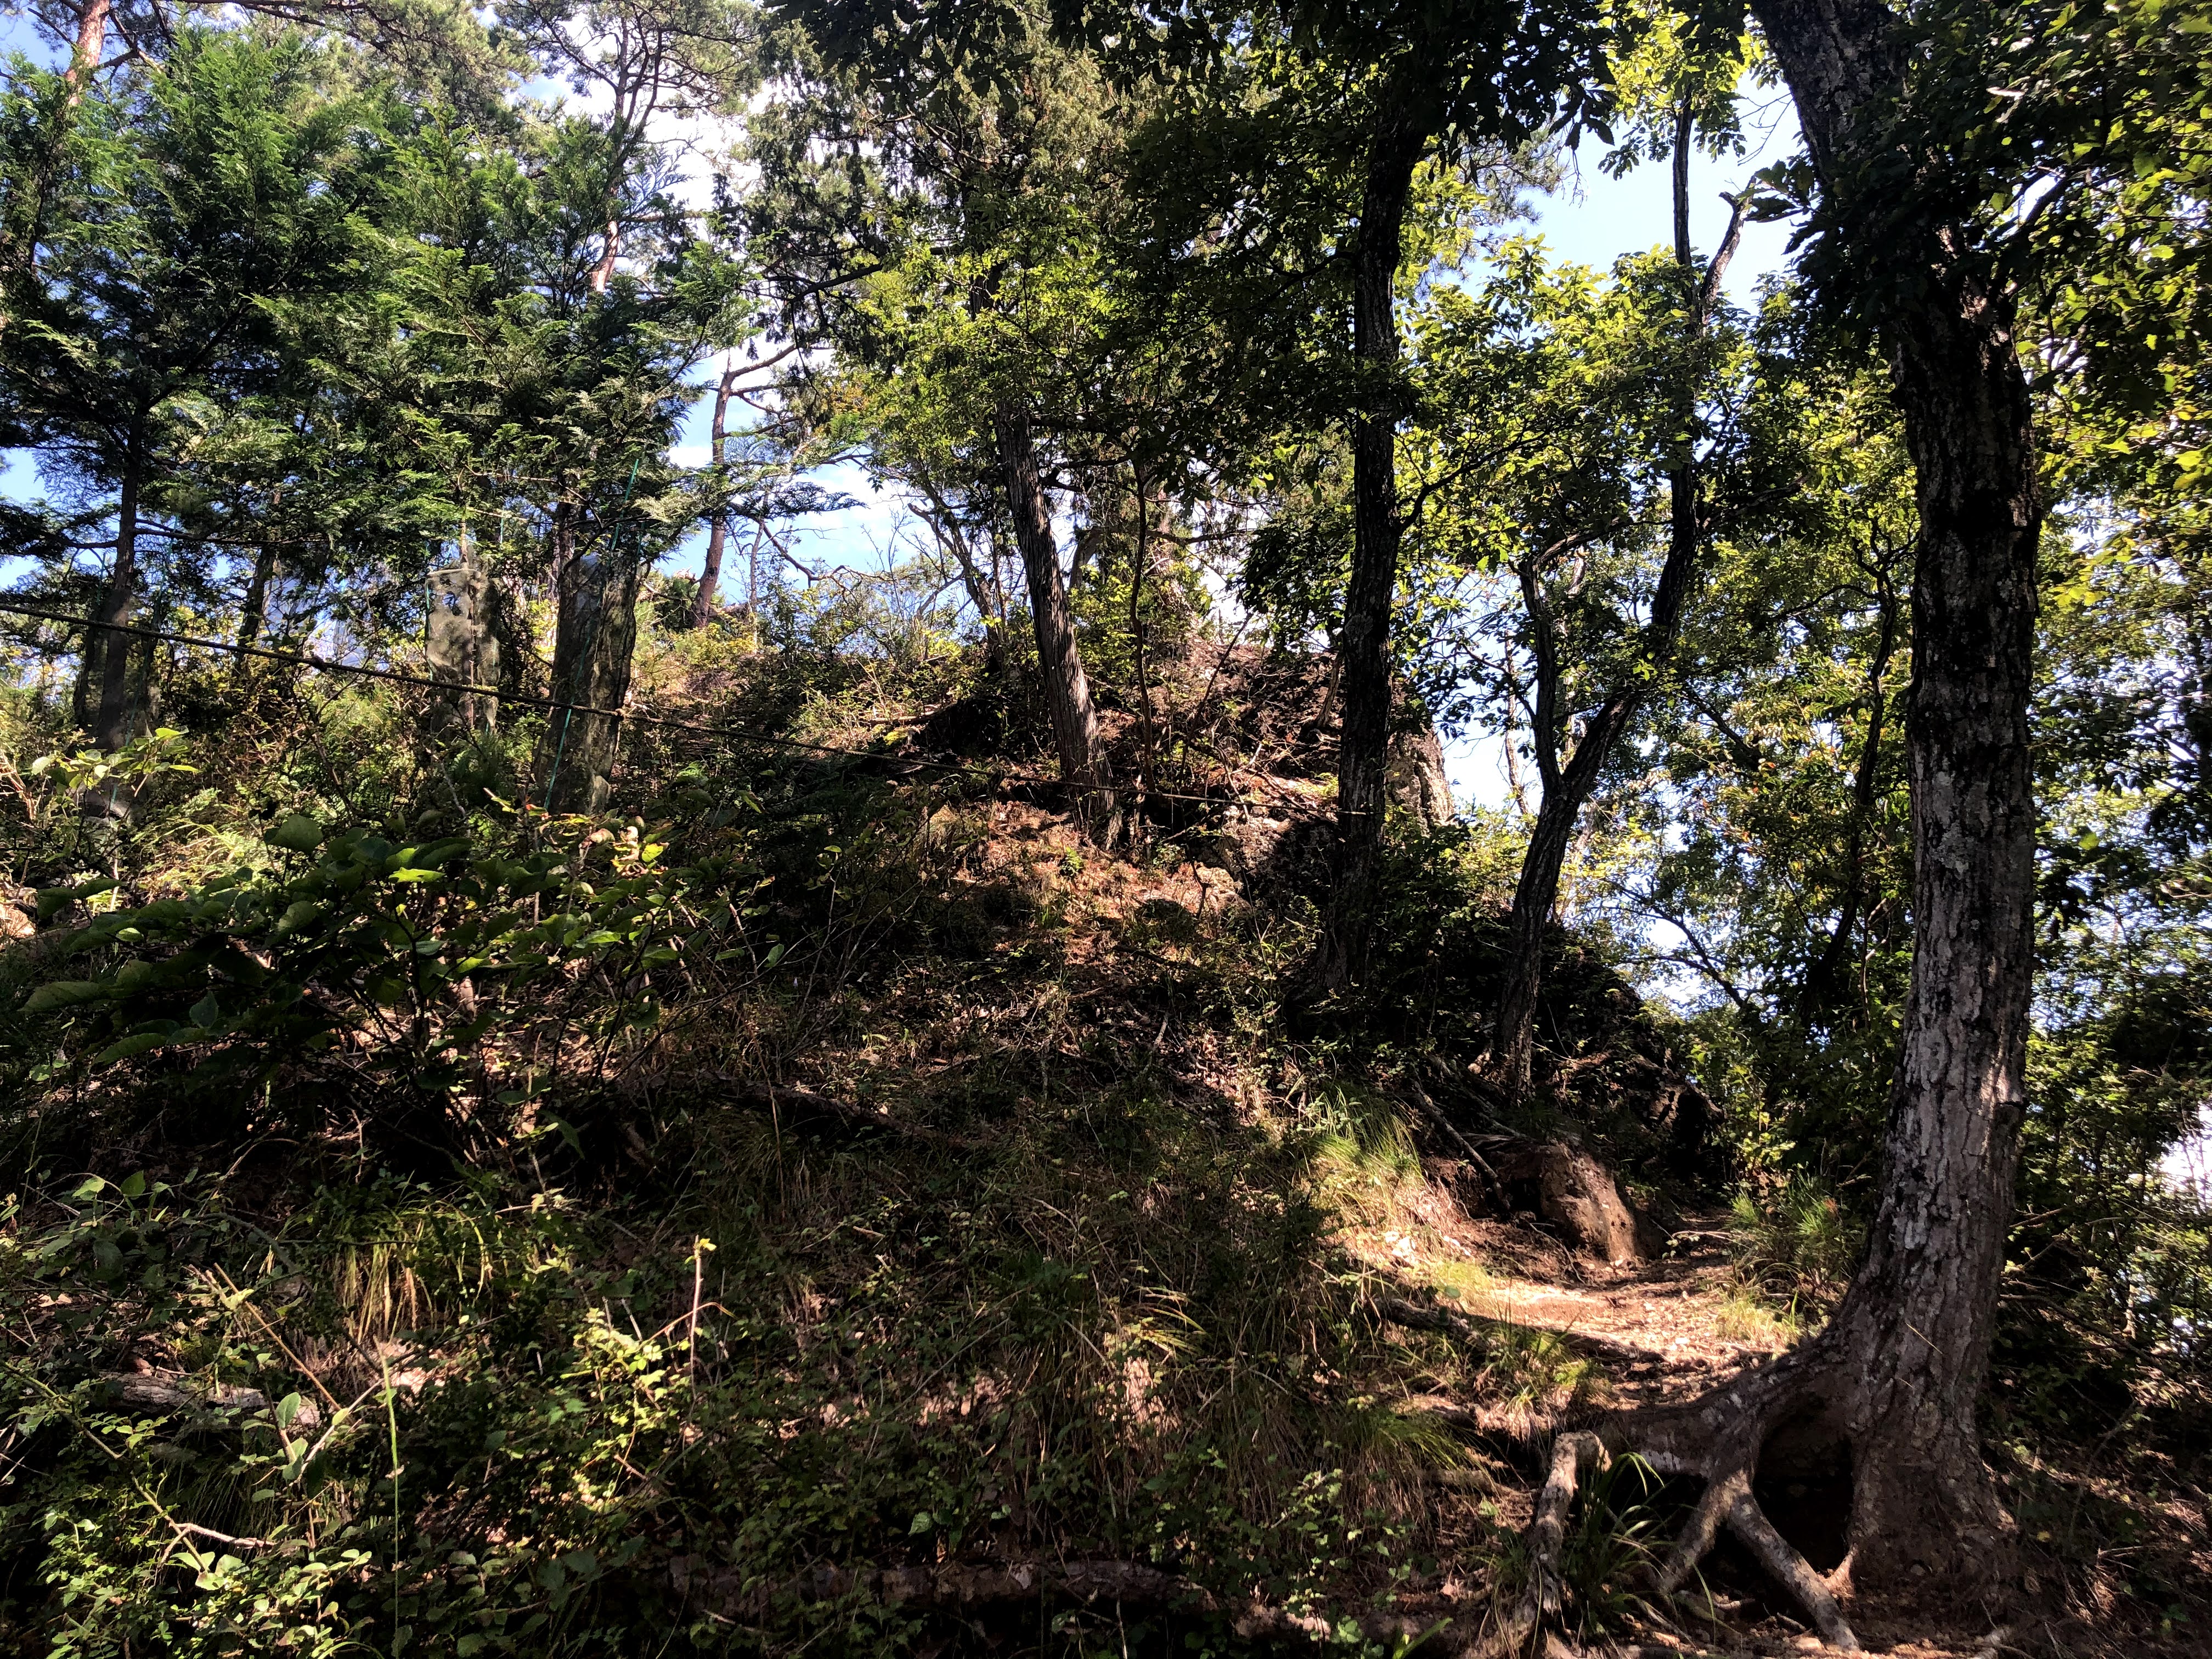
Mt. Kawanori (川苔山) is a mountain of medium height situated in the Okutama region which administered by Tokyo (東京都). The mountain’s Kanji name is written in two ways: 川苔山 and 川乗山. Both ways of writing the Kanji are used interchangeably and you will see both versions appear on maps and on signposts throughout the trail. Although I had the impression that the 川苔山 version seems a bit more common. The character 苔 (こけ, koke) means moss, which seems fitting for this environment.
There are multiple ways to hike Mt. Kawanori. The most popular route starts at the Kawanori Bridge (川苔橋) and leads to the summit via the Kawanori valley (川苔谷) passing by the Hyakuhiro waterfall (百尋の滝). However, as of October 2020, this route is currently off limits due to heavy damages caused by the typhoon number 19 that wreaked havoc in Japan in Autumn 2019. For this reason, the buses that leave for the Kawanori Bridge also do not currently stop at the stations. You can check the current status here (in Japanese).
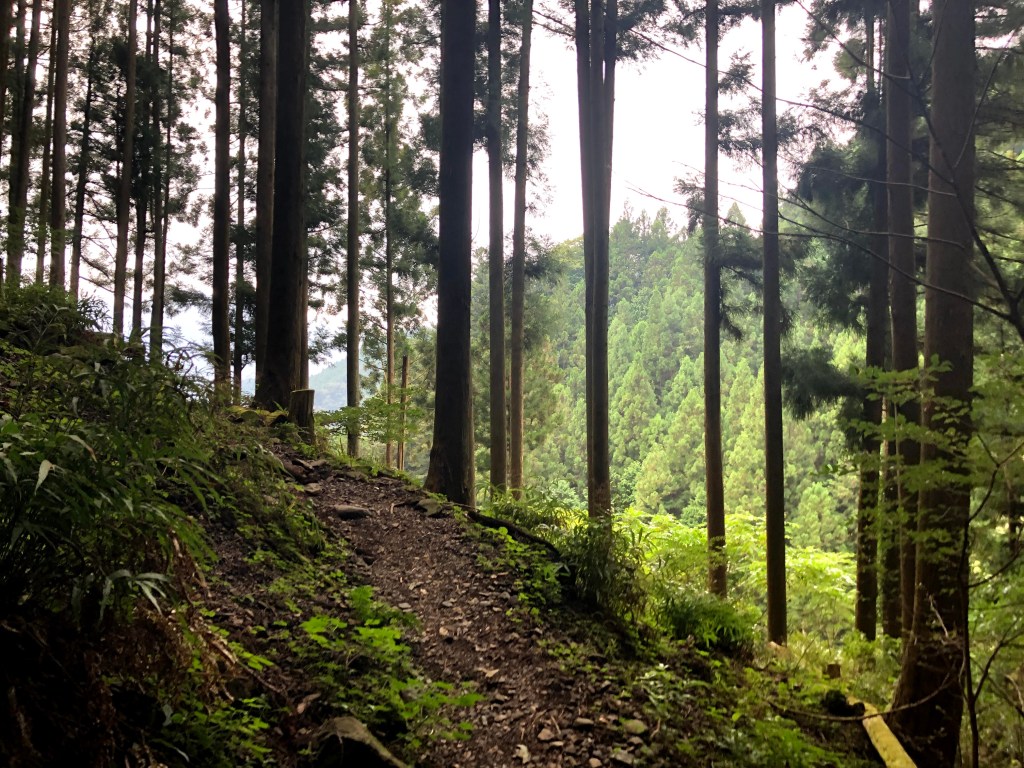
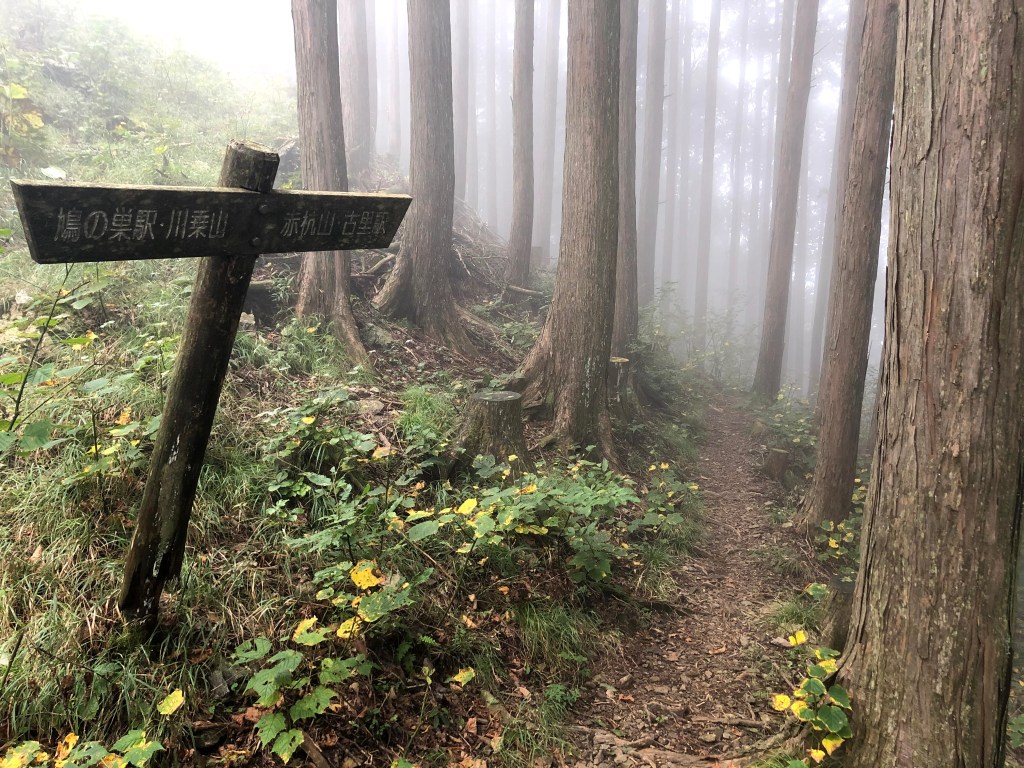
For this reason, we chose the route that starts directly at Okutama Station. When starting there, the route first leads to Mt. Honita and then over to Mt. Kawanori. The ascent however is quite steep, but not overly difficult in terms of technique needed. The descent can be done via Hatonosu Station (鳩の巣駅) or Kori Station (古里駅). The descent via Kori Station is a bit longer, but also a bit gentler on the knees. In total, I would recommend planning about 7h average for the route.
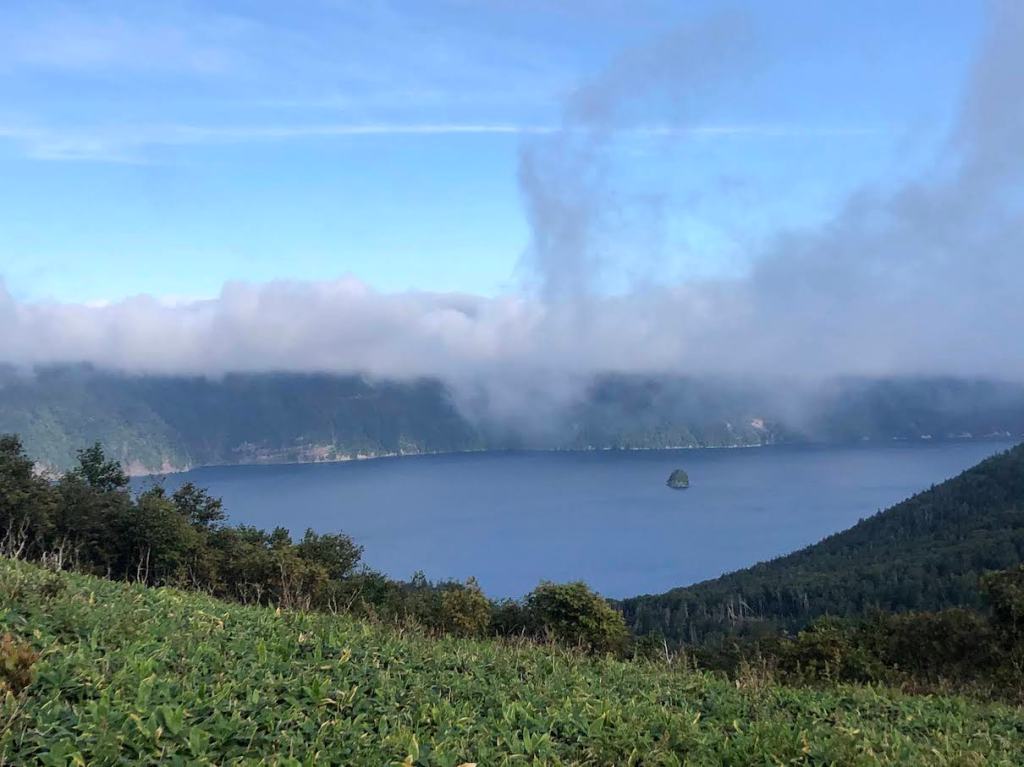
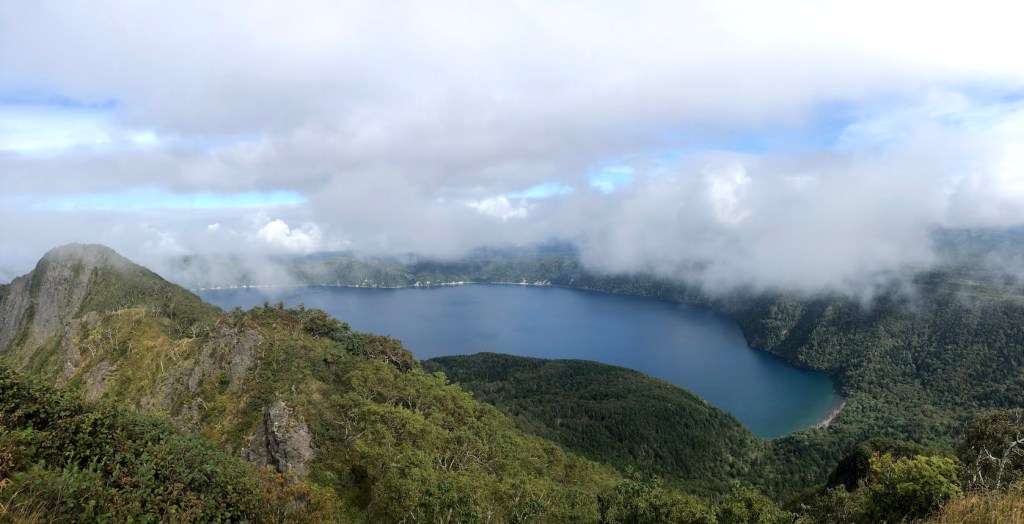
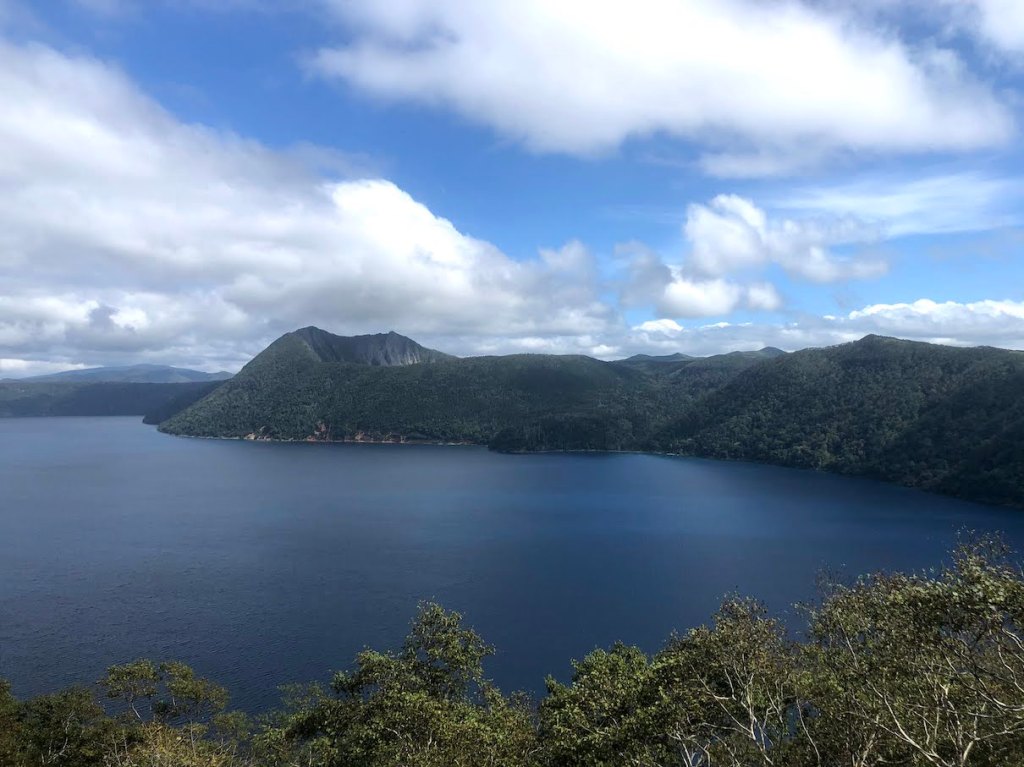
As with many mountains in Japan, there can be more than one way to call it. Mt. Mashu, or Mashu-dake 摩周岳, is also called Kamui-nupuri カムイヌプリ, which means “mountain of the gods” in Ainu, the language of the ingenious people of Hokkaido. The mountain is situated on the edge of Lake Mashu 摩周湖., a lake with beautifully blue water, which is also worth a visit, even without the goal of climbing Mashu-dake. While the whole lake was created within a large volcanic crater, Mashu-dake is basically a smaller sub-crater, not filled with water, but not less impressive.
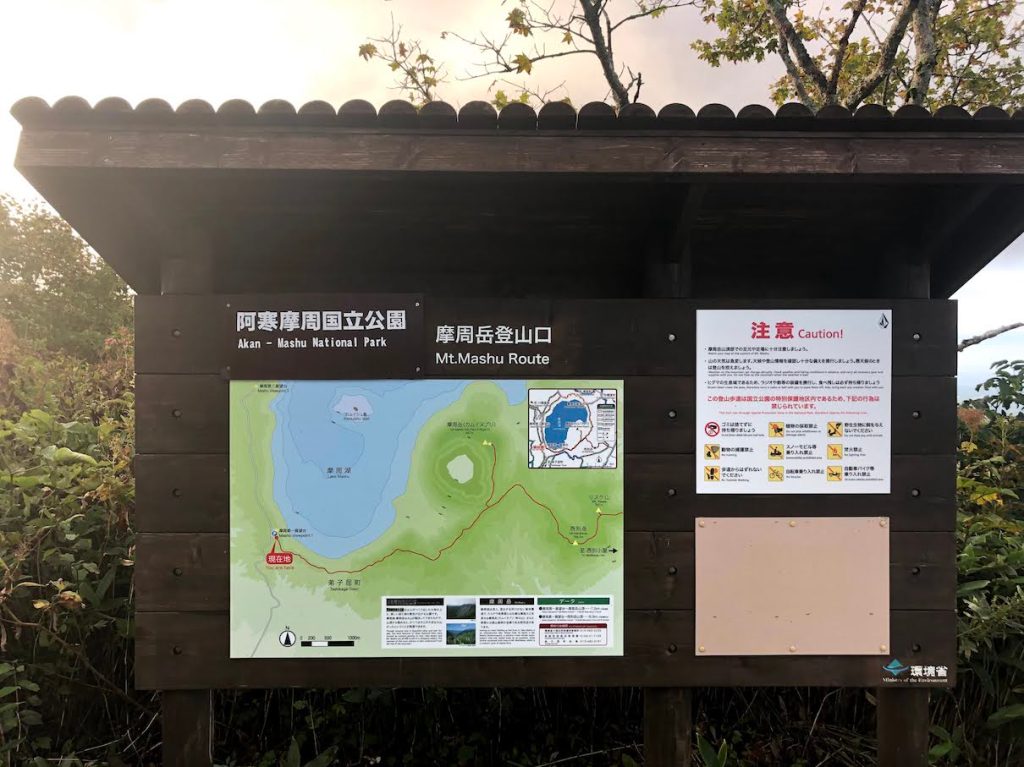
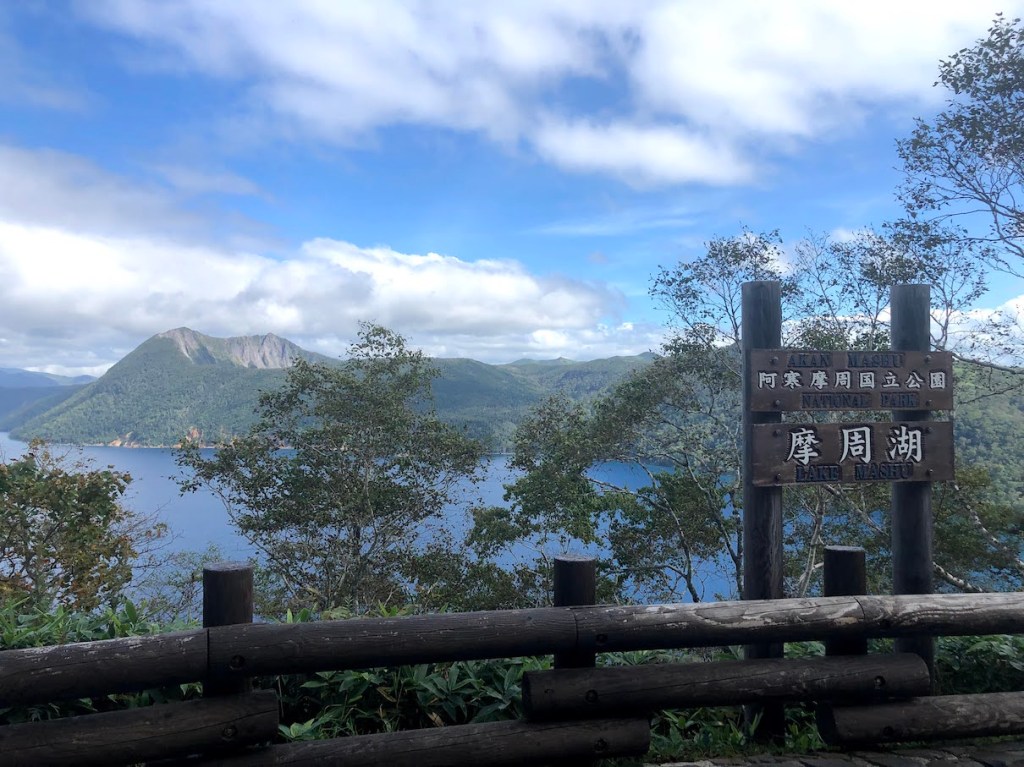
The most popular trailhead start at he first viewing platform for Lake Mashu and the Mashu-dake. It is easily reachable by car and there is also a bus station. When arriving by car, parking costs 500yen. If you arrive early morning, there is a chance that no-one will be present at the gates, but in this case, they will put a note behind the windshield wipers for you to report back to the parking lot office once you come back from the hike. If you need to rely on public transportation, there is a bus from Mashu Station 摩周駅 that goes to the first observation deck, but the times and frequencies are quite rare. Here is the schedule.
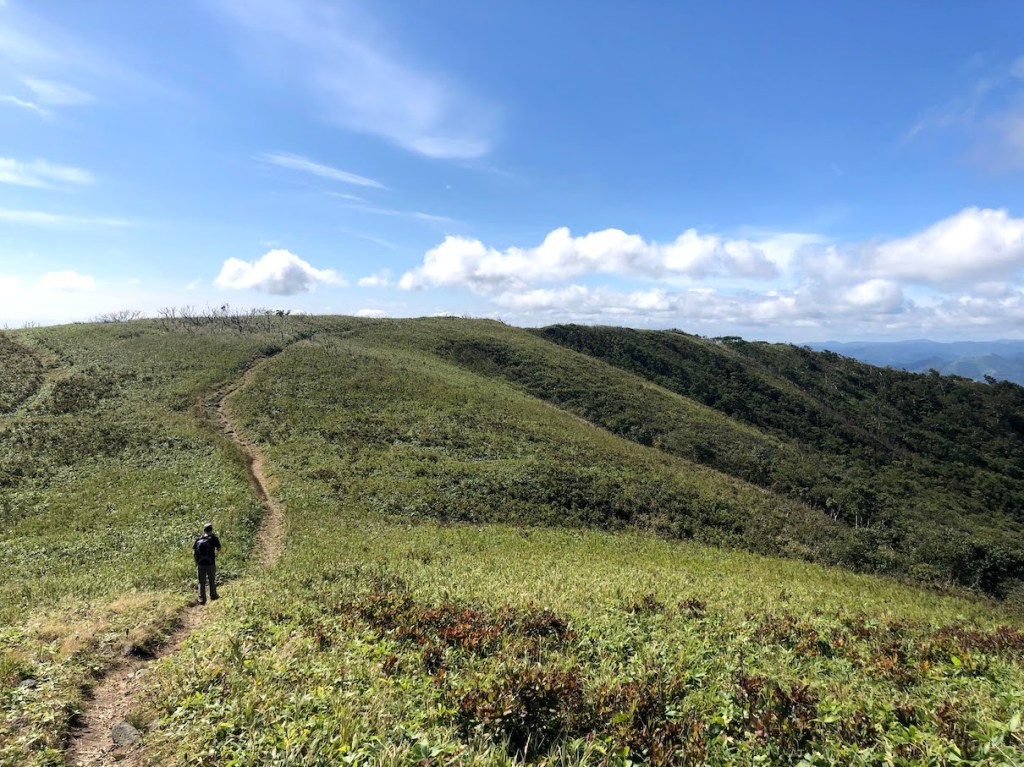
Once you enter the trailhead which begins right at the end of the viewpoint area, the majority of the trail will be rather easy and relaxing. There is not much elevation gain until the very last 400m or so. The reason for this is that you first need to walk a while around the lake to the Mashu-dake. But the trail leads you through enchanting forests and wide fields with views on both the Lake Mashu and the surrounding mountains such as Nishibetsu-dake 西別岳. About halfway through, there is another viewing platform with great views on Lake Mashu and Mashu-dake. Head further straight until you reach another junction. From here, you can take the left side right up to the summit of Mashu-dake, or take the right side to further hike to Nishibetsu-dake, which is only 2.5km away. The majority of the elevation gain happens during the last 400m of the hike, but with a total elevation gain of about 400m, this is not a difficult hike.
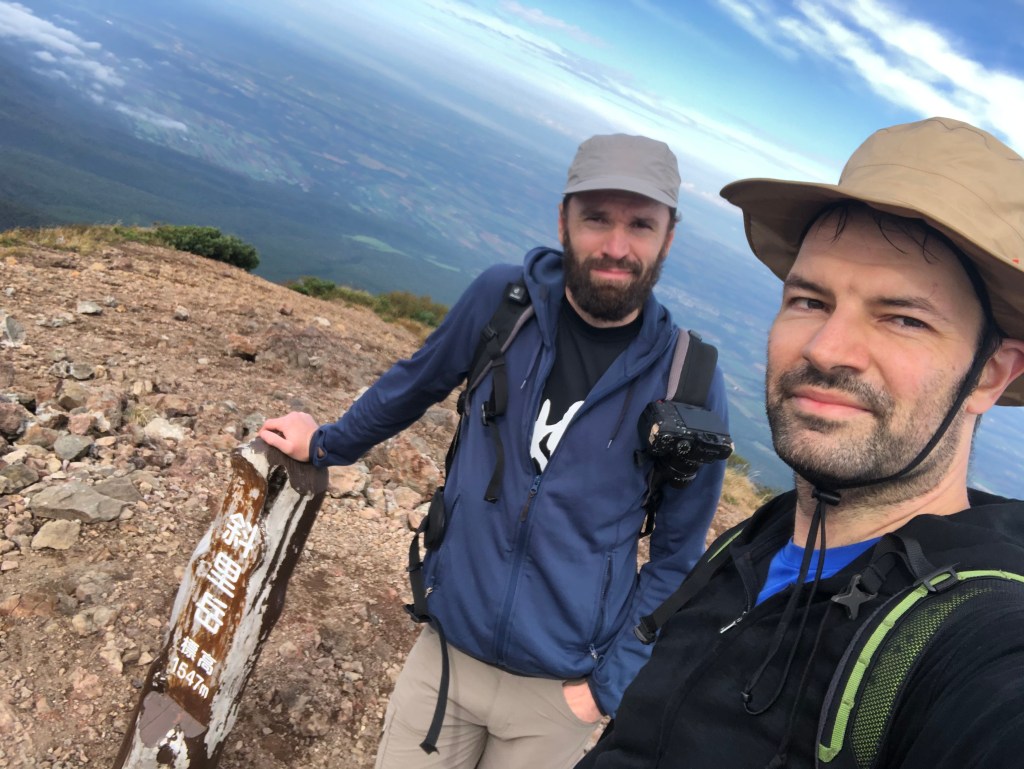
Shari-dake is a mid-sized mountain in Eastern Hokkaido, not far from the village with the same name. The mountain is one of the 100 famous mountains of Japan and therefore attracts many climbers throughout the year.
The trailhead is located at the Seigaku-so 清岳荘 hut, which also has a parking place. As always in Japan, I would recommend being early, as parking places are getting crowded very fast. You will be asked by a sign to pay 100yen at a small box right at the trailhead for as parking fee. After this, head onto the trail and after a short passage downwards, you will walk along a forest road until the path goes back into the forest to the left side.
From here, you will basically follow the flow of the river uphill. The river has to be crossed multiple times and it can be a little bit wet. It gradually becomes more steep and after a while, you will arrive at a junction where you have two options, follow the the old route to the left, or take the new route to the right.
It is noteworthy that the old route is quite steep and continues along the water, so it is extremely slippery at times. The new route is taking quite a detour but is significant less dangerous. I would say that if you are a seasoned mountaineer, ascending via the old route should be doable, but I would definitely recommend descending via the new route, as it does lead away from the waterfalls and is therefore less slippery. My guess is that the new route has been established to ease the descent, as there might have been a number of accidents on the old route with these conditions.
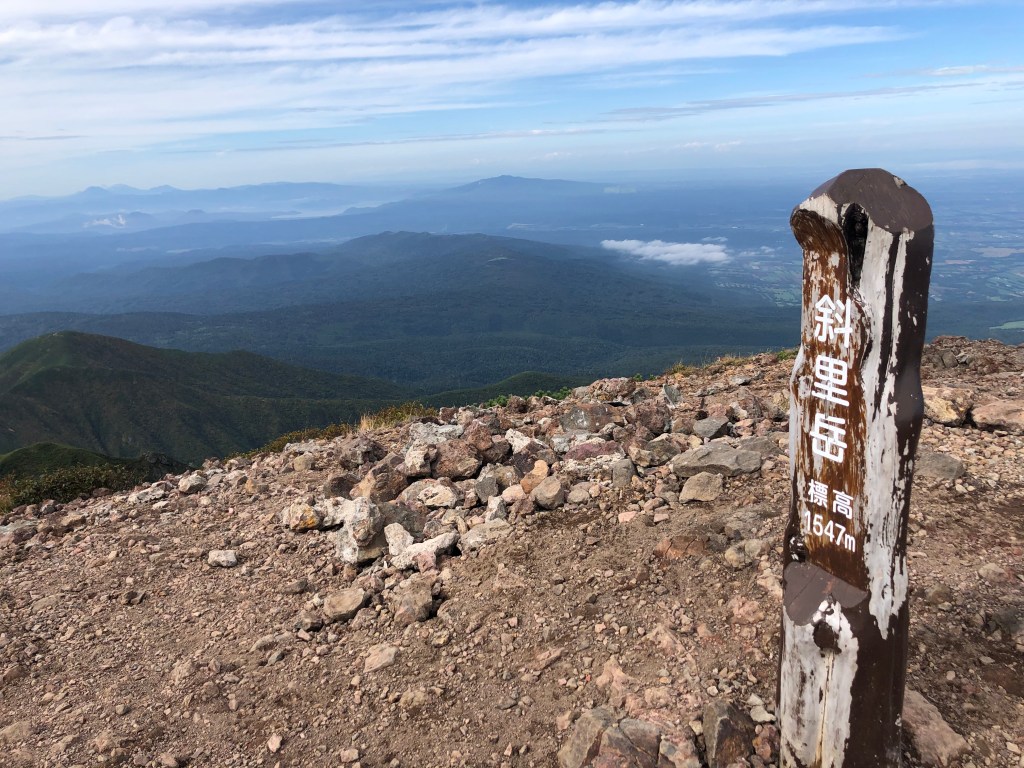
After the waterfall passage (which is undeniably the most difficult part of this hike), you will at some point arrive at a plain and shortly after that, you will see the junction that brings the old route and the new route back together. From there, just head straight and climb up to a small plateau with moderate views. From here you can already see the summit to the left. Follow the signs to the left and there will be a short rocky section until you arrive at the Shari-dake Shrine 斜里岳神社, which is a really small shrine just below the summit. From there, follow the path and you reach the summit in about 5 minutes.
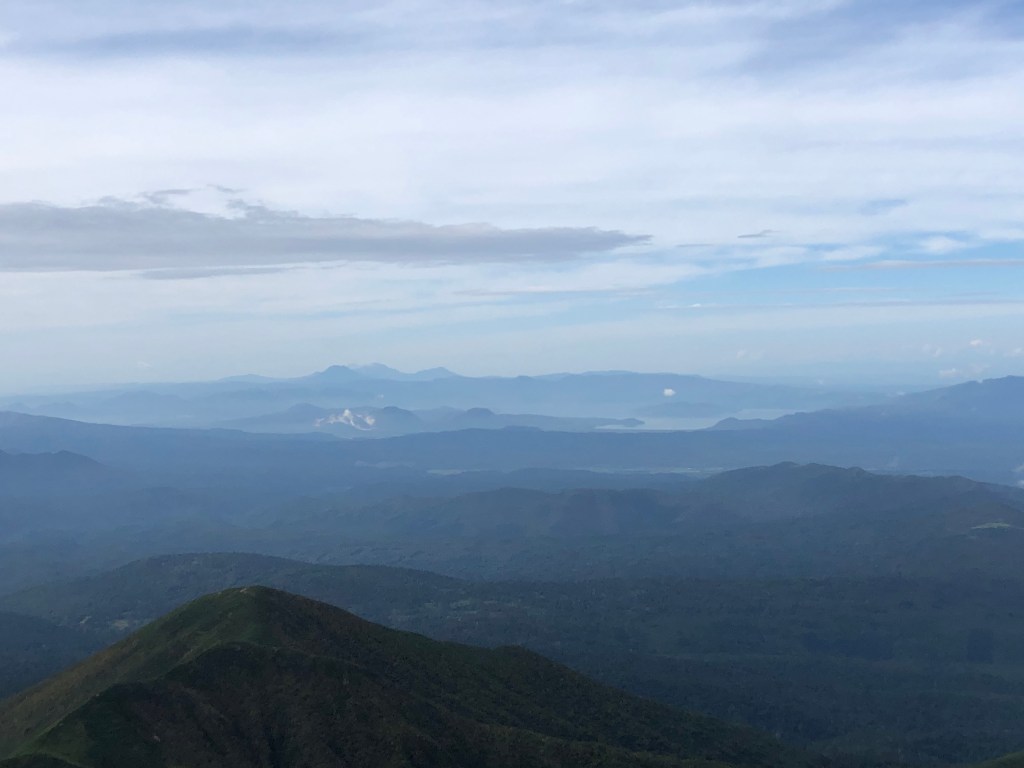
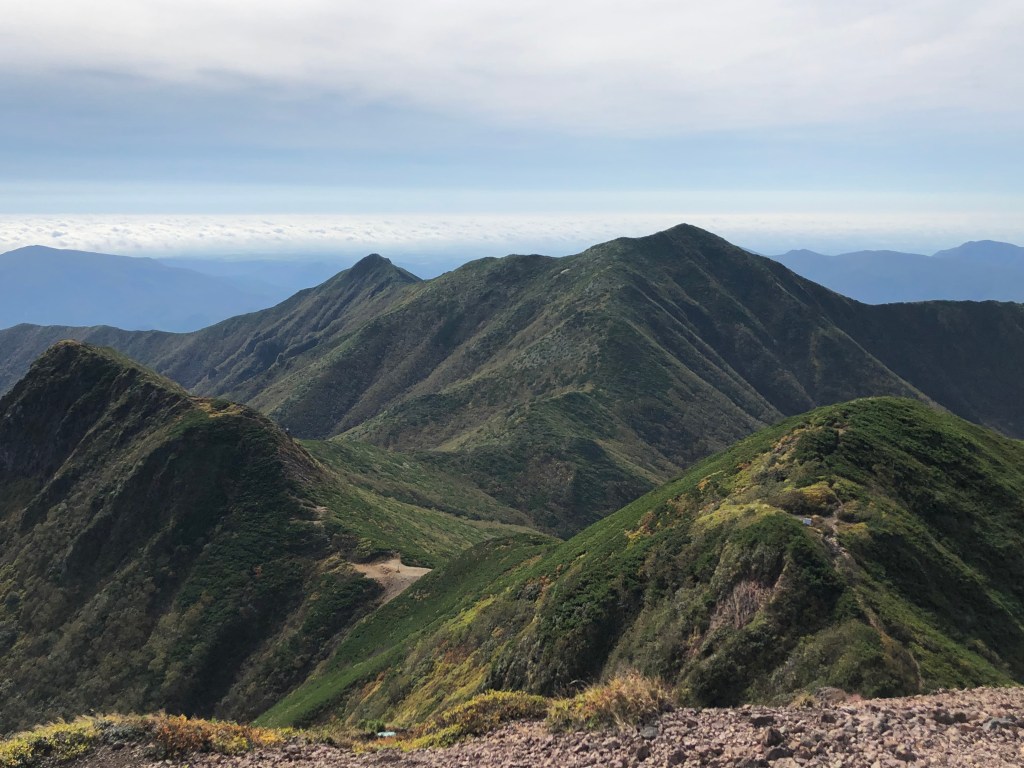
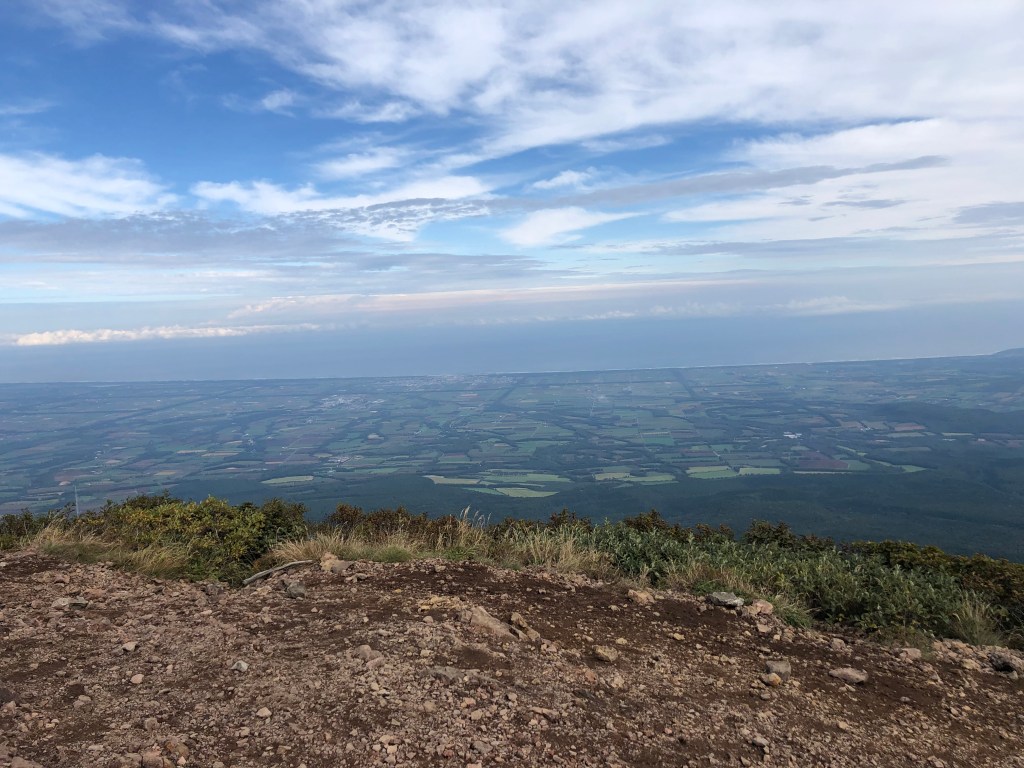
The views from Shari-dake are breathtaking. With good weather, the mountain provides 360 degree views of the surroundings, including Shari village, the Sea of Ohotsk, the Shiretoko Peninsula, Abashiri, etc. To the other side, you can also see the silhouettes of the mountains in the Daisetsu-san National Park.
When descending, follow the path down where you came from until you reach the junction where the old and the new route merged again. This time, take the new route to the left towards Kumami-toge (bear view pass). This route will lead over the ridgeline to Kumami-toge and then descends down back to where the waterfalls where.
Speaking of bears. While there are certainly bears in Hokkaido (the native bear is the brown bear ヒグマ, the possibility to actually see one is extremely low. On the Kumami-toge, we met an older Gentlemen who lives in the area of 77 years who told us that on this day (September 21, 2020) this would be his exact 900st attempt to the summit of Shari-dake. That is quite an accomplishment, and he wanted to continue until he reaches 1000 summits of Shari-dake. The stunning part however was that in all these 900 summits, he has never seen a single bear (!).
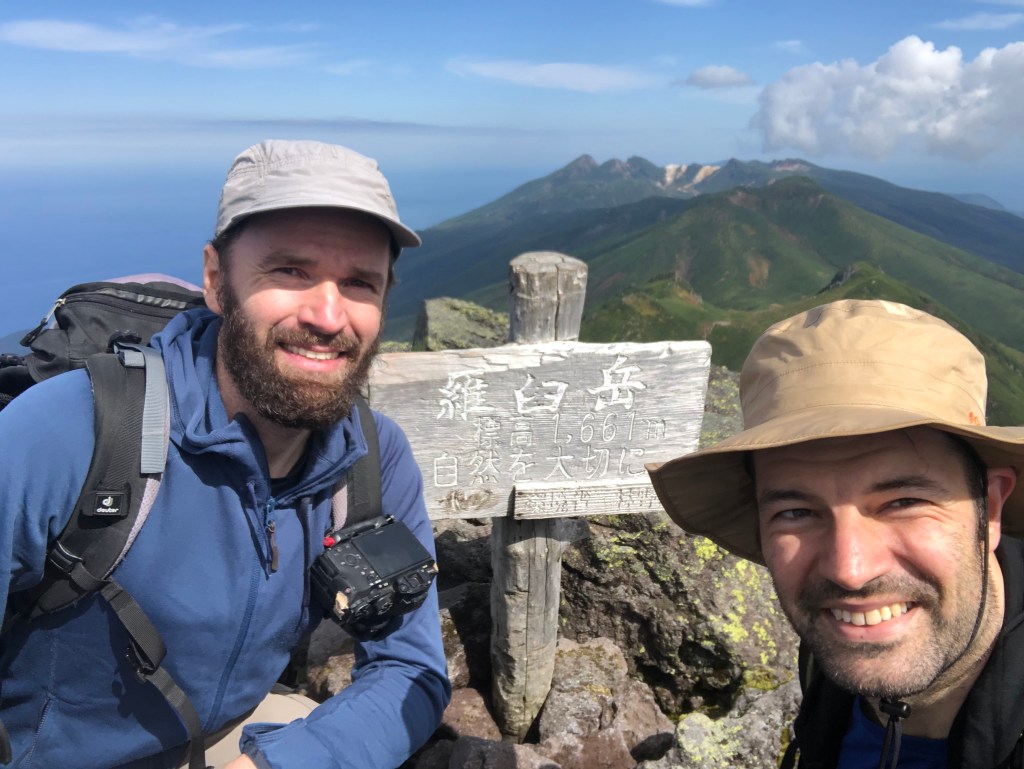
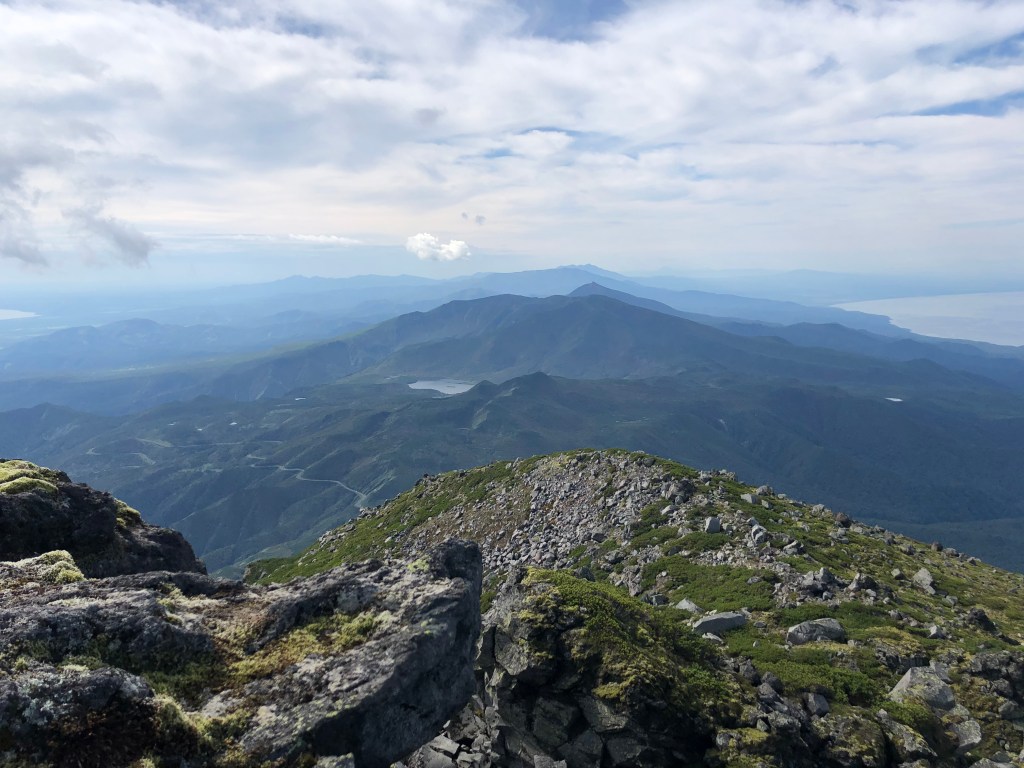
Blick vom steinigen Gipfel des Rausu-dake. Bei gutem Wetter kann man bis nach Kunashiri (unter Russland’s Kontrolle aber terretorial beansprucht von Japan) schauen.
Der Iwate-san 岩手山 (oder auch Iwate-Fuji 岩手富士/Nanbu-Fuji 南部富士/Nanbukata-Fuji 南部片富士 genannt) ist ein imposanter Schichtvulkan, der ueber die Stadt Morioka wacht. Als relativ freistehender Vulkan und mit ueber 2000m Hoehe gehoert er auch zu den 21 Ultras in Japan. Ultras sind solche Berge/Vulkane, die eine topographische Prominenz von 1500 oder mehr haben, also solche die sich sehr stark in der Landschaft hervorheben. Der Anstieg ist nicht allzuschwer, aber sehr lange, da man von relativ weit unten anfaengt. Oben angekommen wird man jedoch mit der Marsaehnlichen Landschaft eines sehr schoenen Vulkankraters belohnt.
–
Iwate-san is one of Japan’s 21 Ultras and shares the same name the northern Japanese prefecture in where it is located. Iwate-san is located not far from the city of Morioka (the capital of Iwate prefecture) and due to its ultra prominent peak, can be seen from almost anywhere in the region. It is a majestic active volcano that watches over Morioka and the region. Iwate-san is also included in the list of 100 famous mountains compiled by mountaineer Kyuya Fukuda in 1964.
The hike can be approach by several trails outlined below. While all the trails lead to the summit in the end, there are a variety of reasons for people choosing a certain route. The Umagaeshi route is by far the most popular. Near the start of the Yakehashiri route, there is an impressing wide field of lava rock to be visited, and the Amihari route is the longest route that also starts and ends right at an Onsen area. When we approached the mountain in August 2020, we chose the Omisaka route, which starts at the Omisaka parking lot in the south. This route, while not being the most known, I felt it was a good choice since there were not many climbers on this path (I think I saw about a handful the whole time (except for when we reached the summit, of course) .This post and its description therefore focuses on the Omikasa-route.
No
Route Name
ルート
Time (ascend only)
Notes
1
Umagaeshi-Route
馬返しコース
~ 4.5h
Most popular route
2
Yakehashiri-Route
焼走りコース
~ 5h
Starts at a large lava field
3
Uwabo-Route
上坊コース
~ 4h
Starts at a shrine
4
Nanataki-Route
七滝コース
~ 6h
–
5
Matsukawa-Route
松川コース
~ 6h+
–
6
Amihari-Route
網張コース
~ 6h+
Longest route, starts at Amihara-Onsen
7
Omisaka-Route
御神坂コース
~ 4.5h+
–
The 6 hiking routes to the summit of Iwate-san.
At the Omisaka parking lot there is a small toilet house, although it did not have any light nor did it provide running water when I went there. From the Omisaka parking lot, head straight to the entrance. The path will lead about 30 or so minutes through the forest until crossing a larger pathway in the forest. Follow this pathway to the right and after 10 minutes or so, the trail continues onto the direction of the mountain to the left. The next passage leads through the thick forest and is a very easy and gentle increase in elevation. After about 2 hours, you arrive at a sign post with a map and from there, the trail is going to get much steeper and there are some passages where ropes help you navigate through the rocks and a bit more difficult parts. At some point later, you should be out of the forest and climb the rest of the trail with nice view into the land (on clear days). Once arrived on what looks like the top, there is a signpost that shows the way to the actual summit of the mountain. Follow the sign and the trail leads back down first and will eventual arrive at the emergency mountain hut. From there, it is only a short climb up the actual crater of Iwate-san. Once arrived on the crater, you can go around it until you reach the highest point of the mountain. (going clock-wise is faster to the summit, but you can circle the whole crater in about an hour or a bit less, so it does not really matter which way to go). There is also a path that leads into the crater, where there is a small shrine. Worth a visit and not that far to get from the main trail. From the crater, you can decide to go down any of the routes described above, or go back the way you came from (in case you came by car etc.).
All in all, Iwate-san is a magnificent mountain. As an active volcano, it also provides rich volcanic landscape and flora. The hike itself, while taking about 8h overall return (depending on the route and your condition), is not too difficult.


